On this page
- What is a patterned battened gate?
- What is the difference between spacing and the gap between types?
- How do you check a batten pattern fits the gate?
- How do you set up a patterned gate in CAD60?
- Which fit should you pick for the pattern?
- Which batten sizes look good together?
- How do you build a patterned battened gate in the shop?
- Watch it done in CAD60
- Common questions
A patterned battened gate mixes two or more batten sizes in one repeating design. Three 20x20 SHS battens, then two round bars, then the same again across the gate. It looks custom, but it is still a plain welded frame with battens. The hard part is the maths.
This guide covers how a pattern is put together, how to check it fits your gate before you cut anything, and how to set it up in CAD60's pattern designer one question at a time. It finishes with a few shop tips for building it.
What you need to know
- A type is one batten size you repeat. Two to ten types make one pattern.
- Spacing is the gap between battens of the same type. The gap between types is a separate number.
- Every batten width and every gap in the pattern has to add up to less than the inside of the frame.
- Auto-repeat works out how many times the pattern fits and keeps both ends flush with the frame.
- Cut spacer blocks for each gap. They make a mixed pattern quick to lay out and weld.
What is a patterned battened gate?
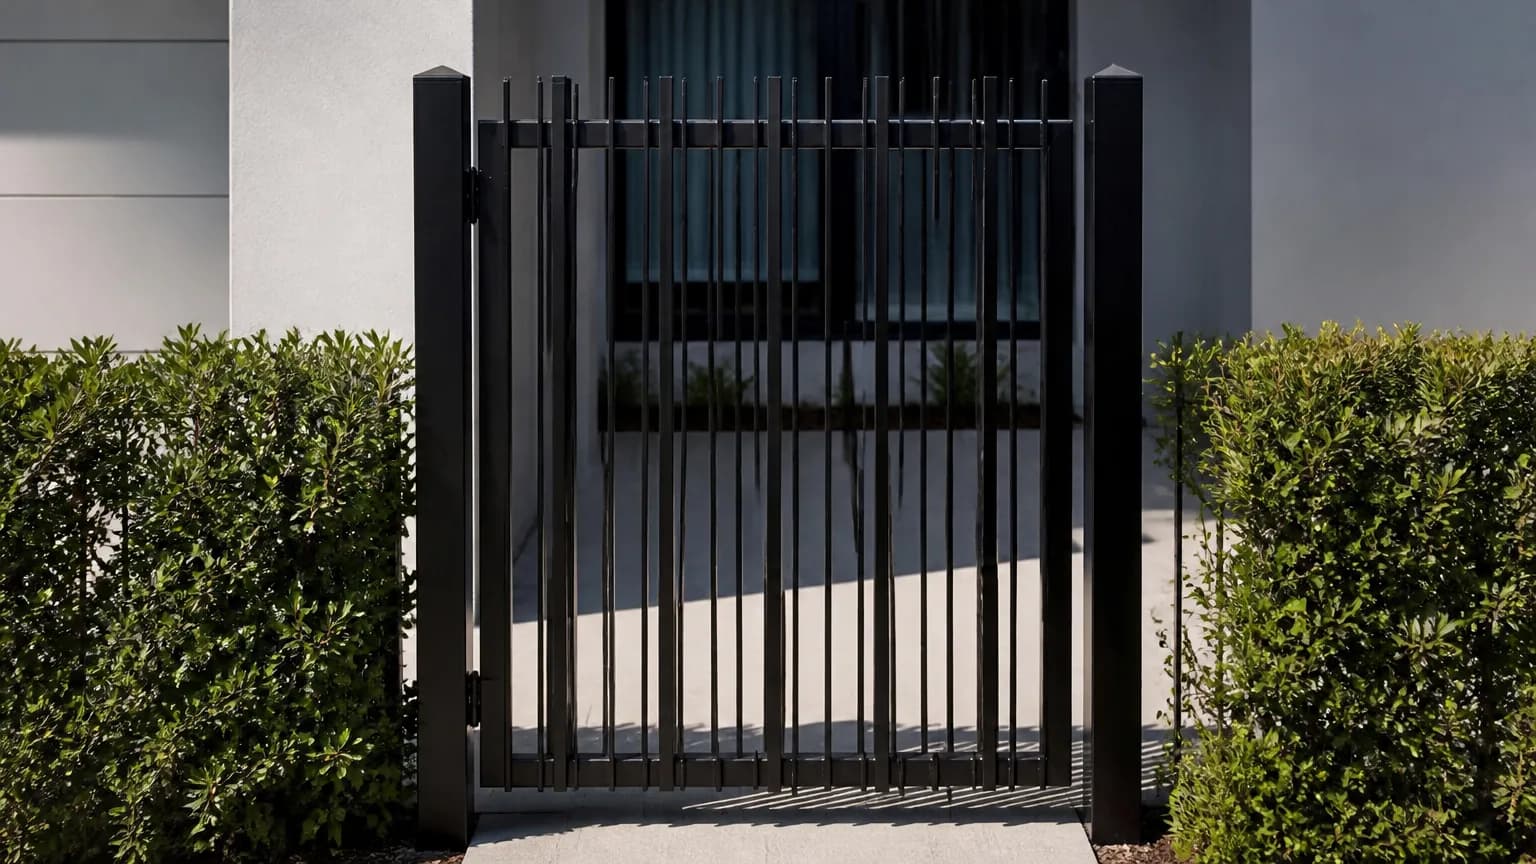
A normal battened gate uses one batten, like 65x16 RHS, at one gap all the way across. A patterned gate swaps that for a short sequence of different battens that repeats. The glossary calls this patterned battens.
The words matter here, because they are the words the drawing uses:
- A type is one batten size you repeat, like 40x40 SHS or a 12 mm round bar.
- A count is how many of that type sit side by side.
- One repeat (or cycle) is every type once, left to right.
- The fit is how that repeat sits inside the frame.
Two types gives a simple A, B, A, B rhythm. Three or more gets busier and more decorative. CAD60 lets you use up to 10 types in one pattern, which is more than most gates will ever need.
What is the difference between spacing and the gap between types?
This trips people up first, so sort it out before anything else. Spacing sits inside a type, between two battens that are the same. The gap between types sits where one type ends and the next one starts. You set both, and they can be different.
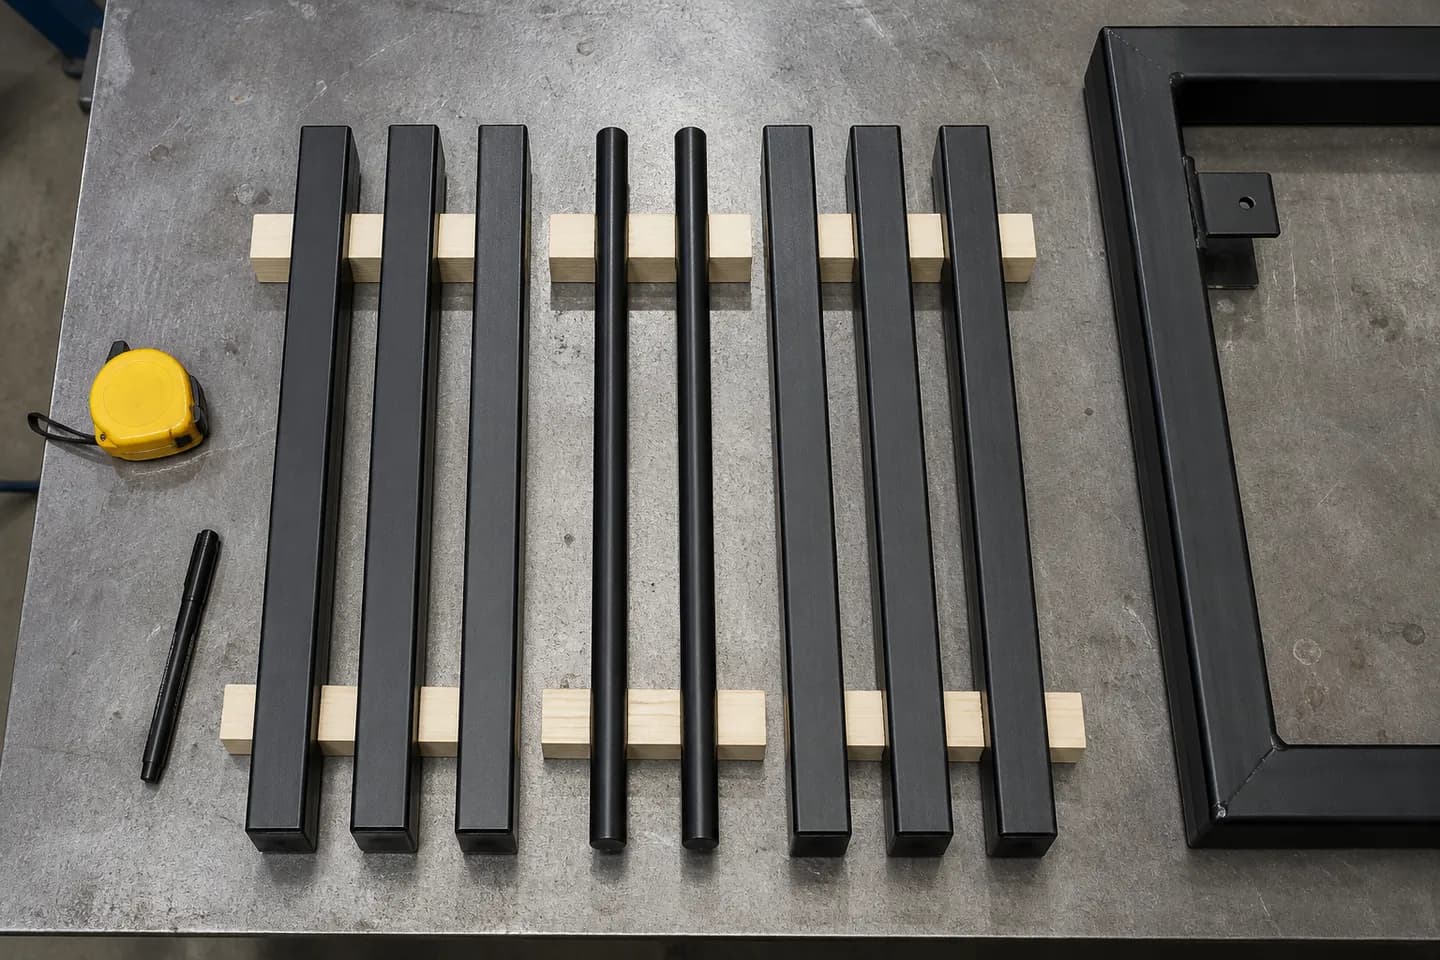
For example, three 20x20 SHS battens at 10 mm spacing, then a 25 mm gap, then two round bars at 10 mm spacing. The bigger gap between the types is what makes the groups read as groups from the street. Make it the same as the spacing and the pattern looks like a row of mixed battens instead.
How do you check a batten pattern fits the gate?
Add up everything in one repeat: every batten width, every spacing gap and every gap between types. Then see how many repeats fit inside the frame, with the gap between repeats added in. Here is a worked example with mirroring off.
| Part of the repeat | Sum | Width |
|---|---|---|
| Type A: 3 x 20x20 SHS | 3 x 20 + 2 gaps x 10 | 80 mm |
| Gap A to B | 10 | 10 mm |
| Type B: 2 x 10 mm round bar | 2 x 10 + 1 gap x 10 | 30 mm |
| One repeat | 80 + 10 + 30 | 120 mm |
Say the inside of the frame, between the stiles, is 1000 mm and you want 10 mm between repeats. Each extra repeat costs 130 mm. Seven repeats take 7 x 120 + 6 x 10 = 900 mm. Eight would need 1030 mm, so seven is the most that fits.
That leaves 100 mm spare. You can put it at the ends (50 mm each side), or share it across the six gaps between repeats so the pattern runs edge to edge. Shared out, each repeat gap grows from 10 mm to about 26.7 mm. That second option is what Auto-repeat does for you.
How do you set up a patterned gate in CAD60?
CAD60's pattern designer asks its questions in three parts, with a live picture of your pattern above them the whole time.
Your batten types
It starts with two cards, Type A and Type B. Press Add another type for each extra batten size, up to 10. Remove takes the last card away. You always keep at least two, since one type on its own is just a plain battened gate.
Fill in each type card
Each card asks which batten it is, how many sit side by side, and the gap between these battens. Between two cards sits a dashed box for the gap between the types, like Gap between type A and type B.
How should the pattern repeat?
Set how many times it repeats and the gap between repeats. Mirror the pattern? Yes adds a flipped copy, so the two halves match about the centre of the gate.
How should it fit the opening?
Pick one of four fit tiles. Under them, a result card says whether the pattern fits, with the pattern width next to the frame width.
The batten choices cover square tube, rectangle tube, round bar, solid square and angle, in common sizes like 20x20, 40x40 and 50x50 SHS, 65x16 RHS and 10 to 25 mm round bar. Pick Other and you can type in your own shape and size. Type A can be square tube and Type B round bar in the same gate.
Which fit should you pick for the pattern?
The fit decides where your pattern sits inside the frame. There are four.
Puts the pattern in the middle. The gap is the same on both sides.
Stretches the gaps so the first and last battens touch both edges.
You set the exact gap on the left. Whatever is left over goes on the right.
CAD60 repeats the pattern as many times as it fits, ends flush.
Most people start on Auto-repeat. It works out the repeat count for you and keeps both ends flush, which is the 26.7 mm answer from the worked example above. You spend your time on the look of the pattern instead of the sums.
Use Natural when you want a set number of repeats centred with equal space each side. Use Offset when the pattern has to start a set distance from the hinge stile, for example to line up with a matching fence panel.
If the result card turns red and says the pattern is too wide, lower a count, shrink a gap, or switch to Auto-repeat. A checking message just means CAD60 is confirming your last change.
Which batten sizes look good together?
A pattern reads best when the types are clearly different. If two types are close in size, like 20x20 and 25x25, nobody can tell them apart from the footpath. Some pairs that work:
- 40x40 SHS with 12 or 16 mm round bar. Bold and modern.
- 65x16 RHS with 20x20 SHS. Flat wide battens broken up by narrow square ones.
- 50x50 SHS with a group of 20x20 SHS. One heavy batten, then a run of light ones.
Weight goes up fast with bigger sections. A pattern heavy on 40x40 and 50x50 tube can make a pedestrian gate a lot heavier than the same gate in 65x16, so size the hinges and post to suit. The gate post size guide covers that.
How do you build a patterned battened gate in the shop?
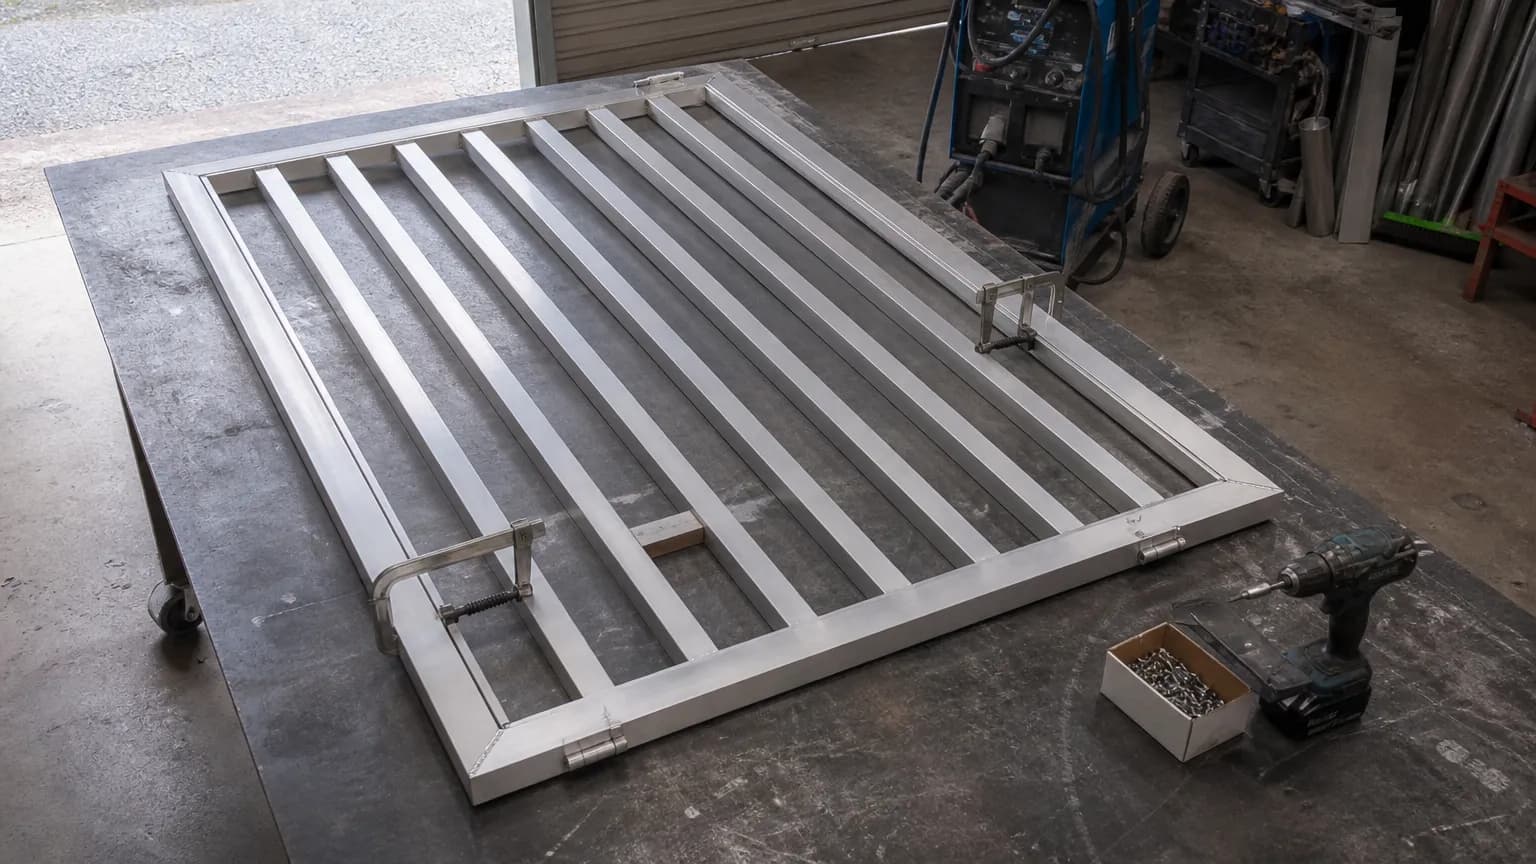
Build the frame first, square and tacked, exactly like any battened gate. The steps are in how to build an aluminium pedestrian gate. Then:
- Cut a spacer block for each different gap: one for each type's spacing, one for each gap between types and one for the repeat gap. Label them.
- Mark the frame from the drawing, not from a tape run across the gate. Small errors add up over 30 or 40 battens.
- On a mirrored pattern, start from the centre line and work out to both stiles.
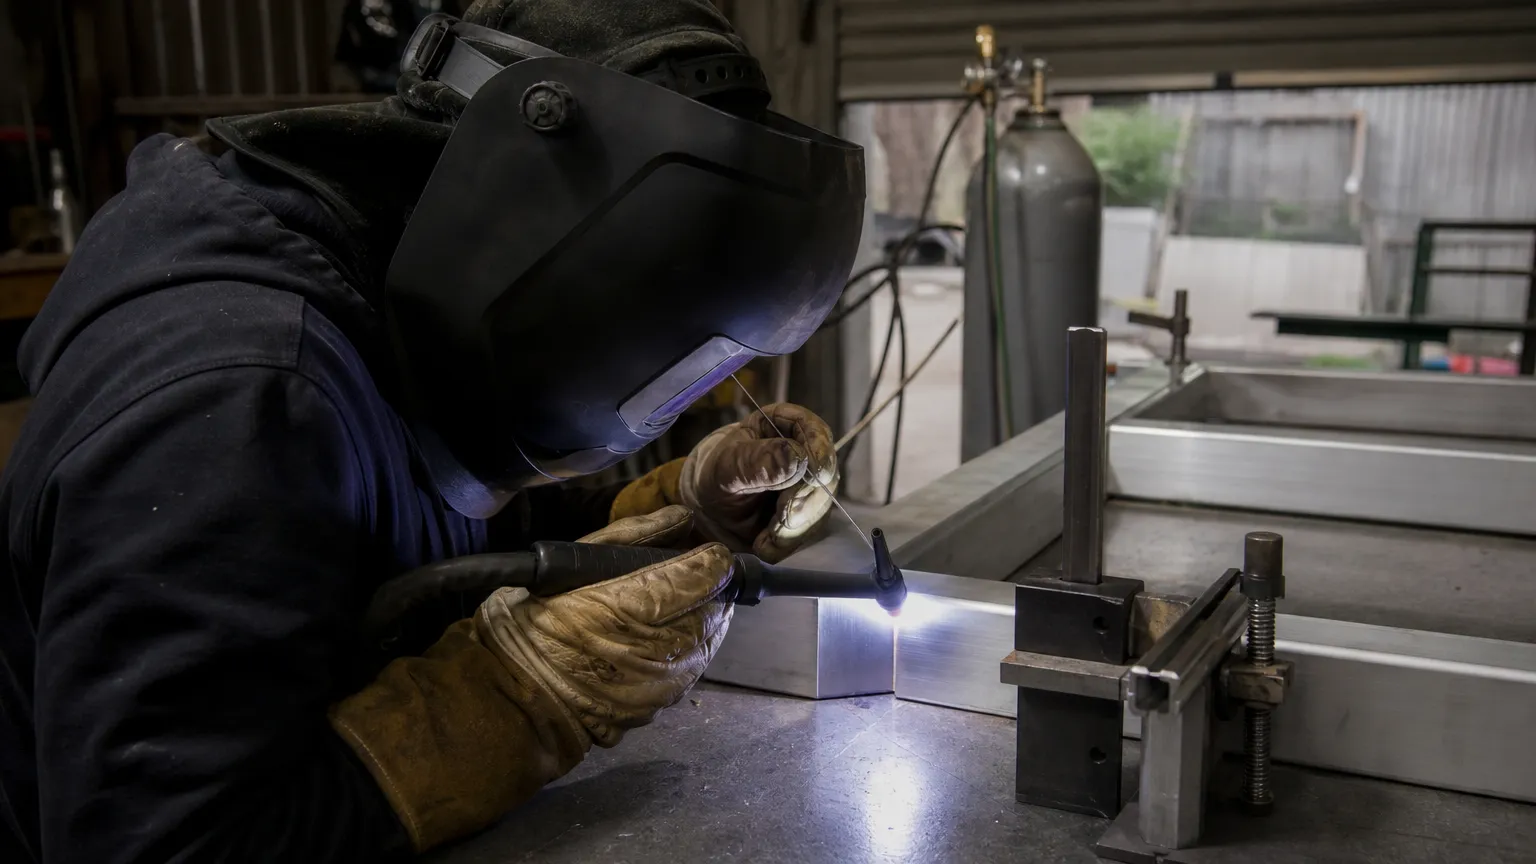
- Tack every batten before you weld any of them out, then weld in a sequence that moves around the gate so the heat does not pull the rails.
CAD60 also has a few settings most shops set once and leave, in a fold called Fine adjustments. That is where you set how far the battens stand past the top and bottom rail (100 mm each by default), a no-batten zone near the hinge or latch so a batten never clips the post or lock, and whether the batten tops are trimmed for hammer-in end caps.
The patterned slatted models use the same designer, with wide flat slats instead of tube and bar. Everything in this guide works the same way there.
Watch it done in CAD60
Common questions
Why does CAD60 say my pattern does not fit?
The pattern is wider than the inside of the frame. Add up every batten and every gap. To fix it, lower a count, shrink a gap, or pick Auto-repeat, which sizes itself to fit.
What does Auto-repeat do?
It works out how many repeats fit across the gate, then stretches the gap between repeats so the first and last battens land flush with both edges. You do not set a repeat count in this mode.
Can I mix round bar and square tube in one gate?
Yes. Each type has its own shape and size, so Type A can be square tube, Type B round bar and Type C solid square, up to 10 types in one pattern.
Does mirroring change the number of battens?
It can. Mirror adds a flipped copy of the pattern so both halves match about the centre, which changes the width each repeat takes. Check the result card after you switch it on.
Can I match the pattern on side panels?
Yes. On the models with side panels, you can set the panels to match the gate pattern. The fit is then locked to Auto-repeat so the gate and panels line up.
Is a patterned gate harder to build than a plain one?
Not much. The frame is the same. The extra work is marking out and keeping the gaps right, which spacer blocks for each gap mostly solve.
Written by Harry Tolley
Harry builds CAD60 with his dad, who has run a fabrication business for 20 years. We write these guides from what goes wrong in a real shop.