On this page
- What do you need to take to a measure-up?
- How do you measure the opening width?
- What do you need to know about the posts?
- How do you measure levels and falls?
- Which side are the hinges, and which way does it swing?
- How much run-back does a sliding gate need?
- What about the ground and power for a motor?
- What photos should you take, and what goes on the checklist?
- Common questions
A gate made to the wrong size is the most expensive mistake in the trade. You pay for the metal twice, the powder coat twice and the install twice. Nearly every one of those starts at the measure-up.
The good news is a measure-up is a routine. Do the same checks in the same order on every site and you will not miss the one that matters. This guide goes through them, and ends with a checklist you can print and take with you.
What you need to know
- Measure the opening at the top, middle and bottom. Build to the smallest number.
- Run a level string across the opening and measure down to the ground at both posts and in between.
- Check the hinge side, the swing direction and everything inside the swing arc.
- A sliding gate needs clear, level run-back at least as long as the gate, plus the tail on a cantilever.
- Photograph everything. Photos answer the questions you forgot to ask.
What do you need to take to a measure-up?
Not much, but do not leave any of it in the ute:
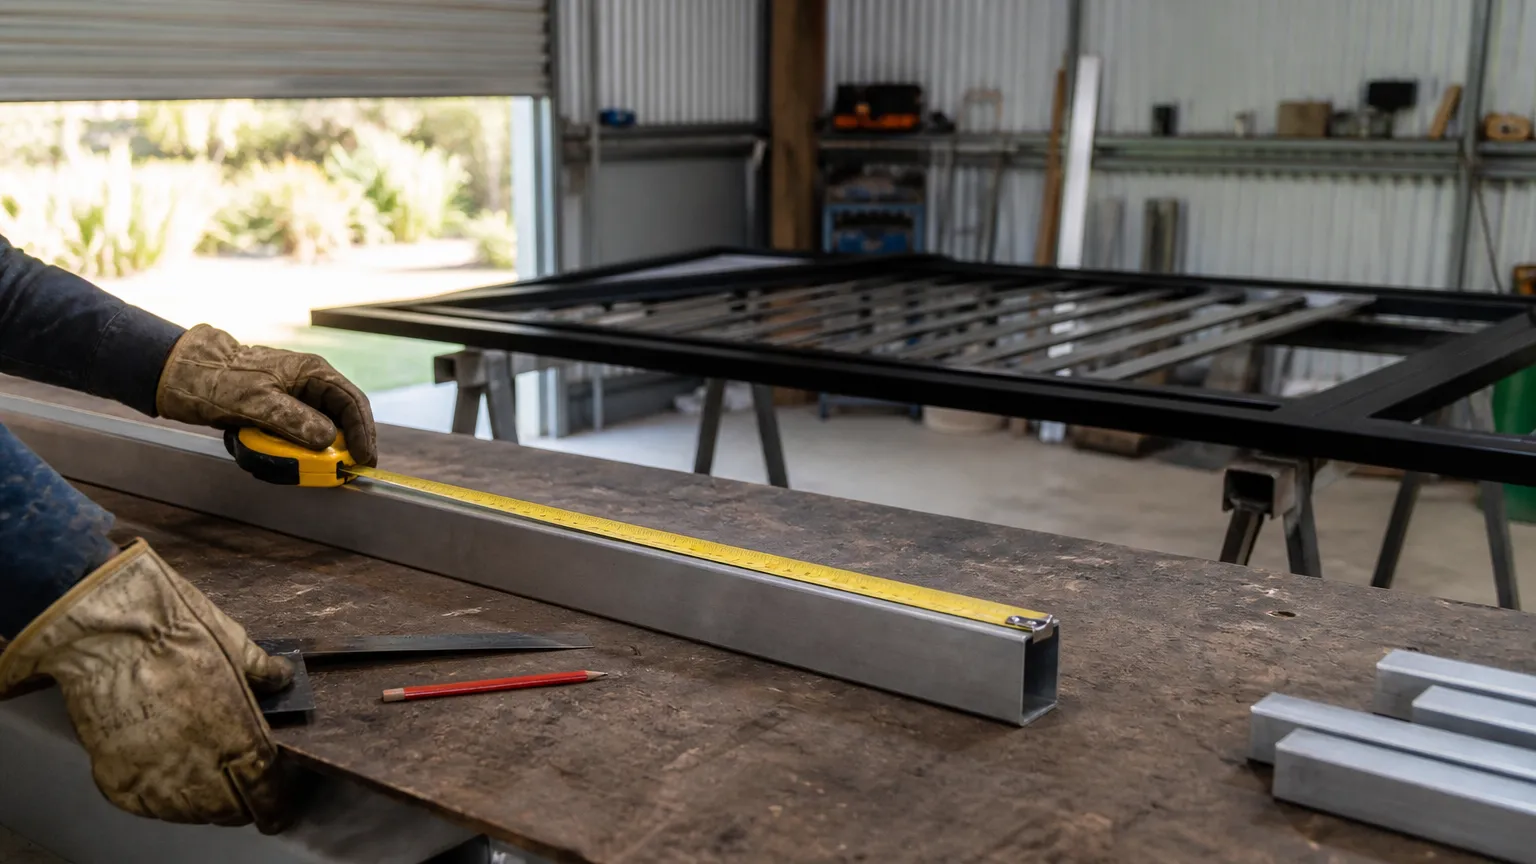
- An 8 m tape, and a laser measure for long runs.
- A spirit level, 1.2 m or longer, or a laser level.
- A string line and two clamps or pegs.
- A clipboard with a sketch sheet, or a notes app.
- Your phone for photos.
Draw a rough plan of the site before you measure anything. Mark the house, the boundary, the driveway and north. Then write every number onto that sketch, right where it belongs. Numbers on a list with no sketch are hard to read back in the shop.
How do you measure the opening width?
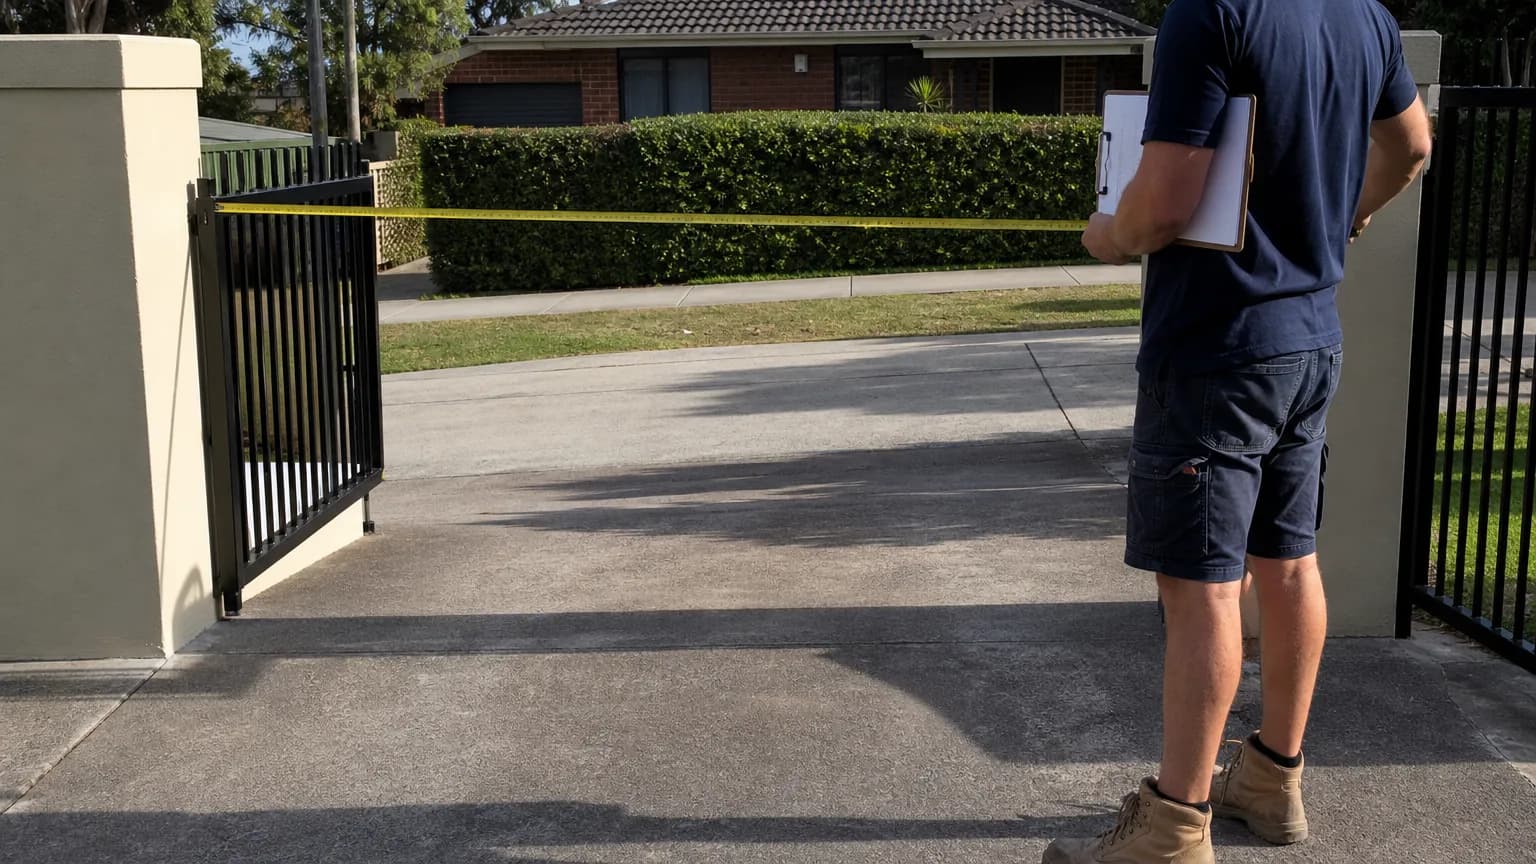
Measure between the faces of the posts or walls, at three heights: near the top, in the middle and near the ground. Posts and brick piers are rarely perfectly plumb, so the three numbers will often differ.
Build to the smallest one. That is your true clear opening. Write all three down anyway, because a big difference tells you a post leans. Put a level on each post and note which way it leans and by how much.
If the posts are not in yet, you are measuring a set-out, not an opening. Measure from fixed things that will not move, like the house, a boundary peg or a slab edge. Mark where each post face will sit, then measure between the marks.
What do you need to know about the posts?
For existing posts, write down:
- The size and material, for example 75x75 or 100x100 SHS, or a brick pier.
- How they are fixed: concreted in, on a footplate, or core-drilled into a slab.
- Whether they are plumb and solid. Push on them. A post that moves now will move more with a gate on it.
For new posts, note the ground you are digging into and anything under it. Pipes, cables and tree roots love to sit right where a footing needs to go. Look for meter boxes, pits and sprinklers, and ask the owner what runs where.
How do you measure levels and falls?
Very few openings are dead level. To see how the ground moves, run a level line across the opening and measure down from it.
Set a level string
Clamp a string line across the opening, about 1 m off the ground. Level it with a line level or a laser. This is your datum line.
Measure down at each post
Write down the distance from the string to the ground at both posts.
Measure in between
Measure down every 500 mm or so across the opening. A hump in the middle can catch the bottom rail even when both ends look fine.
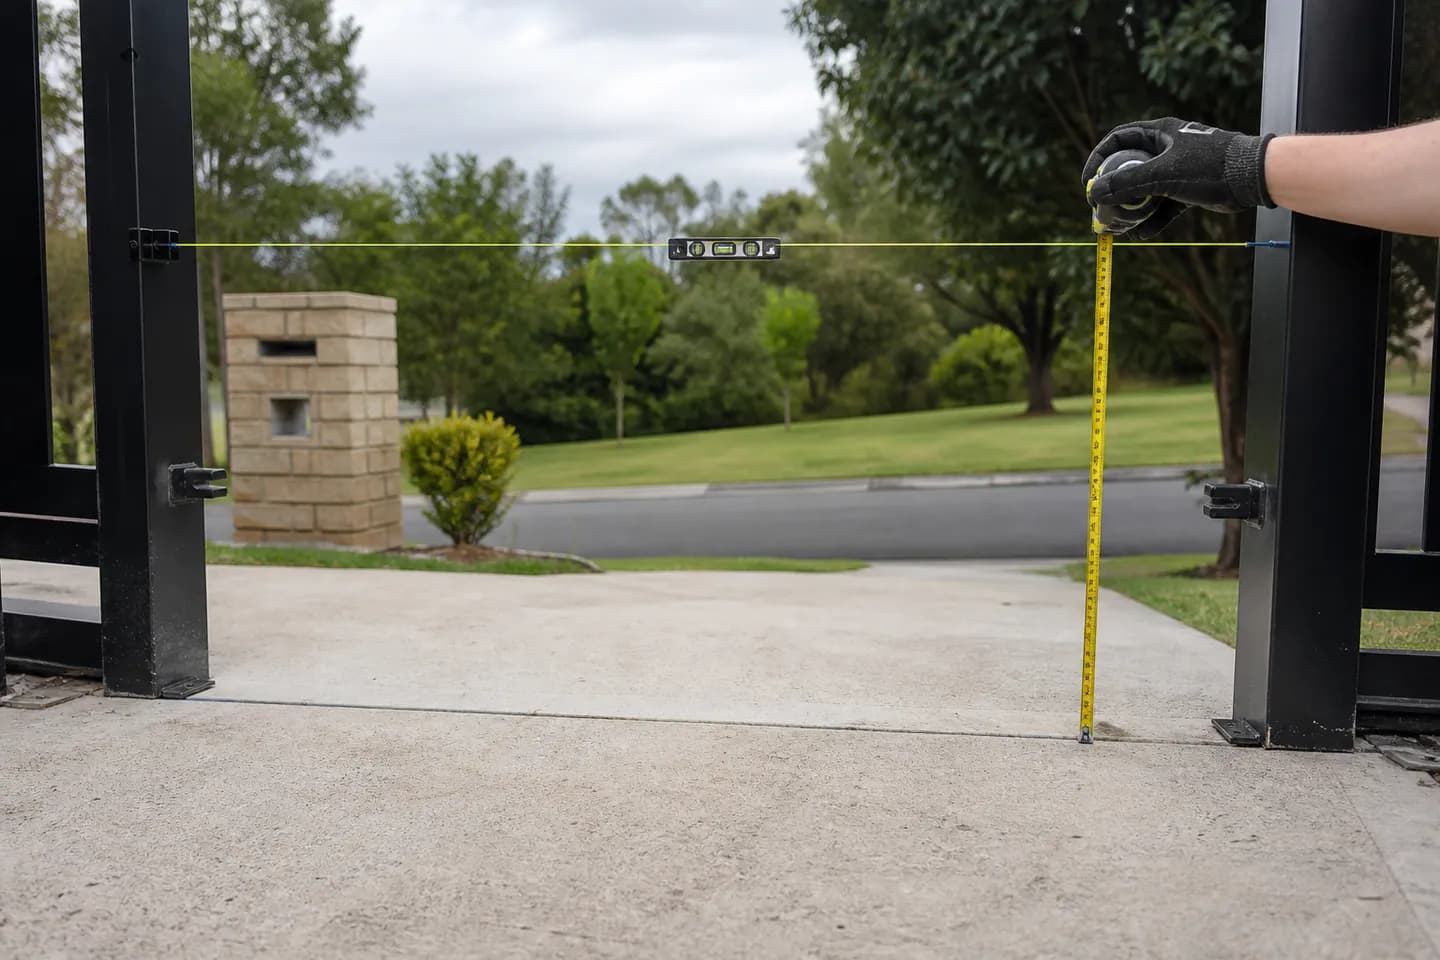
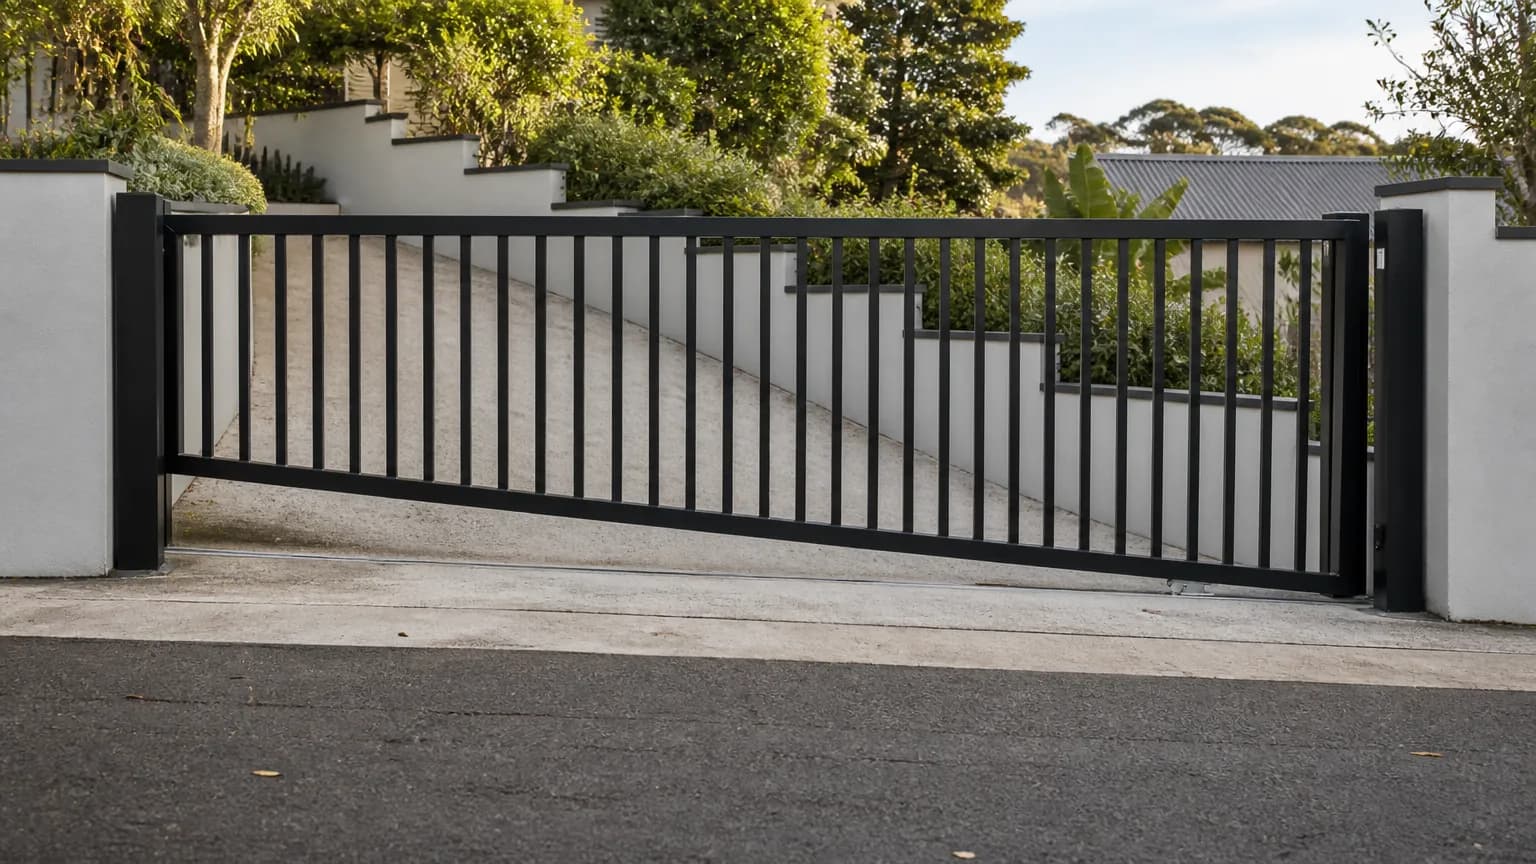
The difference between the readings is the fall, or rake. It decides whether the gate is built square, stepped or raked to follow the ground. The raked ground guide goes deeper on sloping sites.
Which side are the hinges, and which way does it swing?
Ask the owner, then write it on the sketch with an arrow. Note the hinge side looking from the street, so nobody in the shop has to guess. Then check:
- Swing direction. In or out, and how far it needs to open. 90 degrees, or flat back against a wall or fence?
- The swing arc. Walk the path the latch end will travel. Look for a letterbox, a tap, a garden bed or a step in the way.
- Ground in the arc. If the ground rises where the gate swings, the bottom rail will hit it. Measure the highest point in the arc and allow ground clearance above it.
- Double gates. Equal leaves or one big and one small? Where does the drop bolt land, and what is under it?
How much run-back does a sliding gate need?
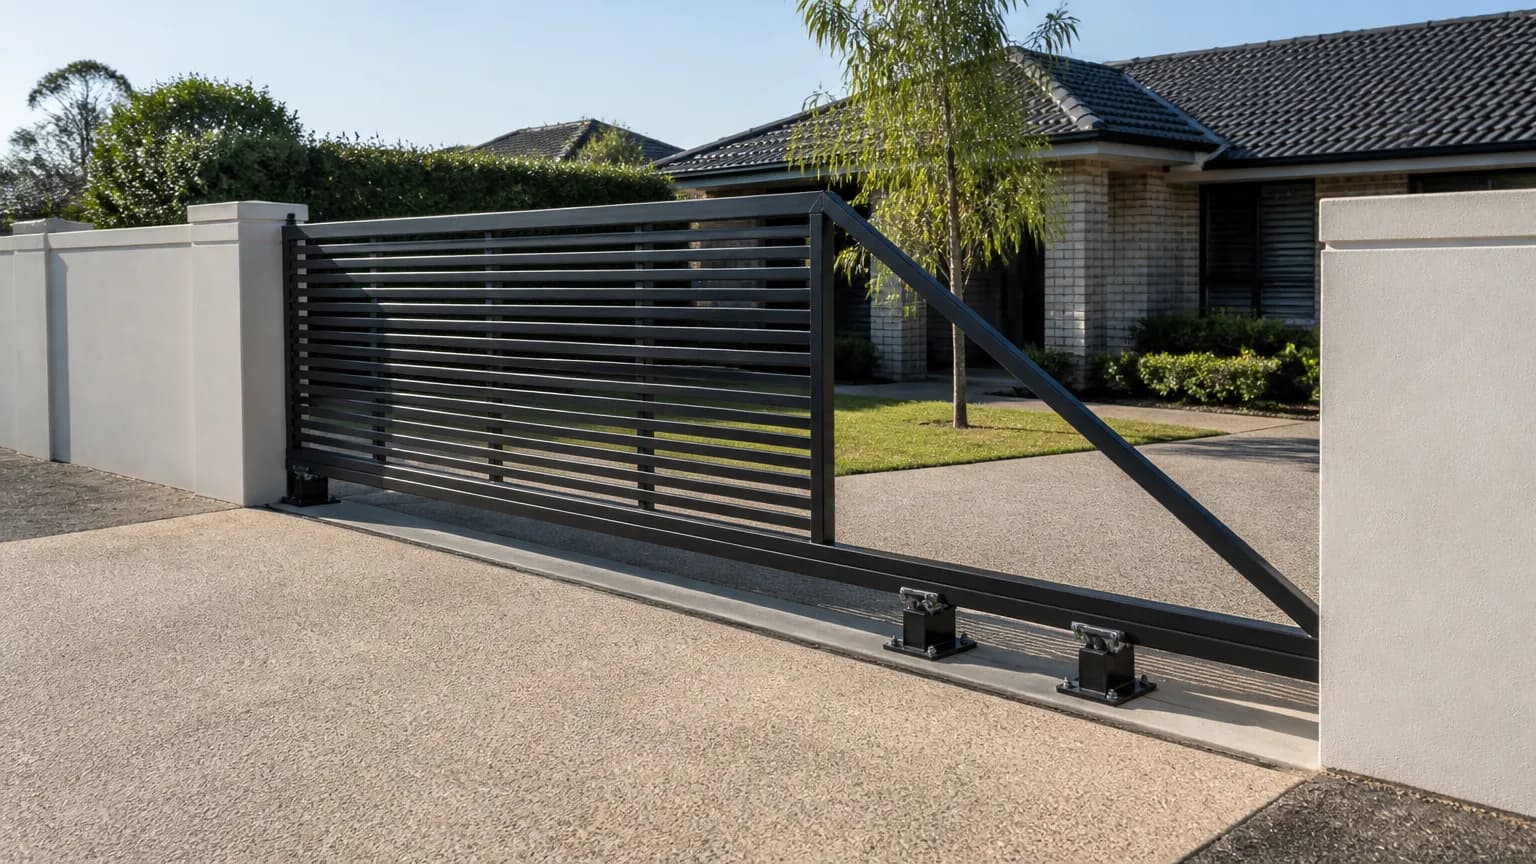
Run-back is the space beside the opening where the gate goes when it opens. A sliding gate is longer than the opening, because it overlaps the posts at each end. So the run-back has to be at least as long as the gate itself.
A cantilever gate needs more again, because of its tail. The tail is often about 40 to 50% of the opening. See the cantilever tail length guide for how to size it.
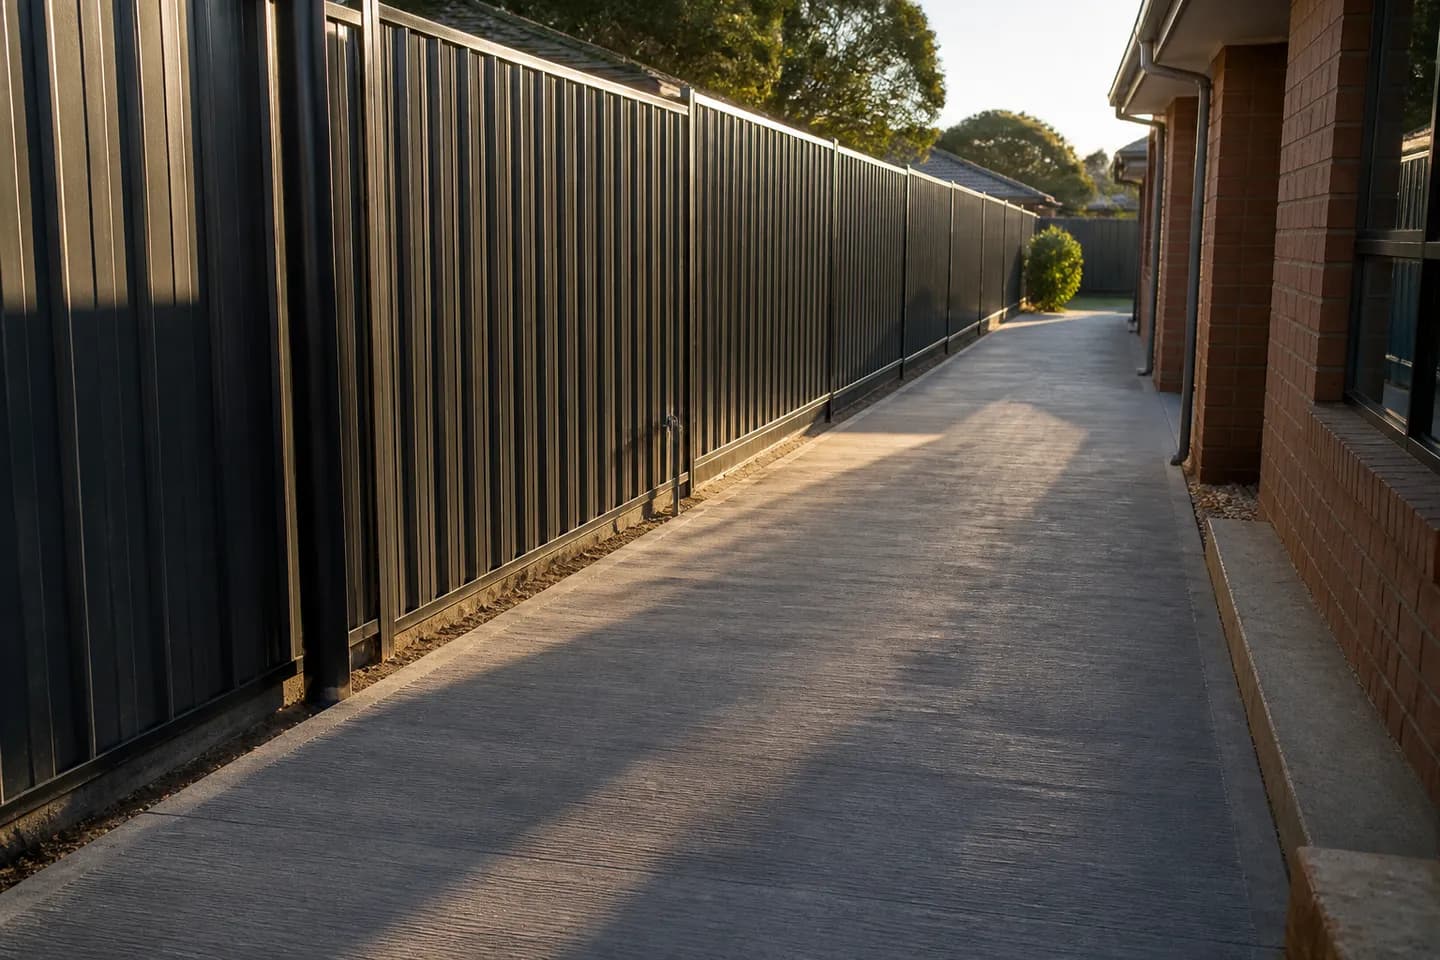
Walk the whole run-back and note anything in the way: downpipes, meter boxes, taps, trees, steps or a fence that kinks. Check the run-back falls the same way as the opening. For a tracked gate, the track has to run on a straight, even line the whole way.
What about the ground and power for a motor?
Write down what the gate sits on: a slab, pavers, gravel, lawn or rock. It changes how you fix posts and tracks. On an old slab, you do not know how thick it is or what is in it, so plan for that before you promise a core-drilled post.
If the gate will be motorised, check:
- Where the power comes from, and how far it is from the motor position.
- Whether a cable has to cross the driveway or a path.
- Where the motor and its controls can sit without being in the way.
What photos should you take, and what goes on the checklist?
Take more photos than you think you need. At least:
- The whole opening, square on, from the street and from inside.
- Each post up close, and its base.
- The ground across the opening, shot low so the fall shows.
- The run-back or the swing arc, end to end.
- The power point, meter box and anything in the way.
- A tape held across the opening, so the photo carries a number.
Then run this checklist before you leave the site:
| Check | What to write down |
|---|---|
| Opening width | Top, middle and bottom. Build to the smallest. |
| Height | Finished gate height, and the height of fences either side |
| Posts | Size, fixing, plumb, solid or loose. New post positions from fixed points. |
| Levels and falls | String to ground at each post and every 500 mm |
| Hinge side and swing | Hinge side from the street, swing in or out, opening angle |
| Swing arc or run-back | Clear length, obstructions, ground rise |
| Ground type | Slab, pavers, gravel, soil or rock |
| Power | Source, distance to the motor, cable route |
| Hardware | Latch, lock, closer or motor the owner wants |
| Access | Can you get a ute, trailer or auger to the gate? |
With all that on paper, quoting is just sums. The fabrication quote guide takes it from here.
Common questions
Should I measure a gate opening at the top or the bottom?
Both, and the middle too. Posts and piers are rarely plumb, so the three numbers often differ. Build to the smallest one so the gate fits everywhere.
How do I measure a sloping driveway for a gate?
Run a level string across the opening and measure down to the ground at each post and every 500 mm between. The difference between the readings is the fall the gate has to deal with.
How do I tell which side the hinges go?
Ask the owner which way they want it to open, then record the hinge side as seen from the street. Mark it with an arrow on your sketch so the shop cannot get it backwards.
How much room does a sliding gate need to open?
At least the length of the gate, which is the opening plus the overlap at each end. A cantilever gate also needs room for its tail, often about 40 to 50% of the opening.
Do I need to check for pipes and cables before digging post holes?
Yes. Look for meter boxes, pits and sprinklers, ask the owner what runs where, and use the free Before You Dig Australia service before you dig. A cut pipe wipes out the margin on a job.
What if the owner wants a gate motor later?
Plan for it now. Note where power could come from, leave room for the motor, and agree on a conduit before any concrete is poured. Adding it later costs far more.
Written by Harry Tolley
Harry builds CAD60 with his dad, who has run a fabrication business for 20 years. We write these guides from what goes wrong in a real shop.