On this page
- Should you use weld-on or bolt-on hinges?
- How big a gap do you leave at the hinge side?
- How do you set the gate up before welding the hinges?
- How do you line up two hinge pins on one axis?
- When do you do the final weld?
- How do you protect the hinge pin from spatter and heat?
- What changes when the gate is aluminium?
- Common questions
Two hinge pins that are a few millimetres off line will bind and wear, and before long the gate drops. Get them on one straight line and even a heavy leaf swings with a finger.
This guide covers picking weld-on or bolt-on hinges, setting the gaps, lining the pins up with a rod, the tack and check routine, and keeping heat and spatter off the pin. There is a section at the end on what changes for aluminium.
What you need to know
- Weld-on barrel hinges are strong and cheap but have no adjustment. Bolt-on adjustable hinges cost more.
- Pack the gate up on blocks at its bottom gap and wedge the hinge-side gap before you tack.
- Run one straight rod through both hinge barrels so the pins sit on one vertical line.
- Tack, pull the rod, swing the gate, and only then weld out.
- Stainless and zinc-plated hinges cannot be welded to aluminium. Use aluminium weld-on hinges or bolt-on ones.
Should you use weld-on or bolt-on hinges?
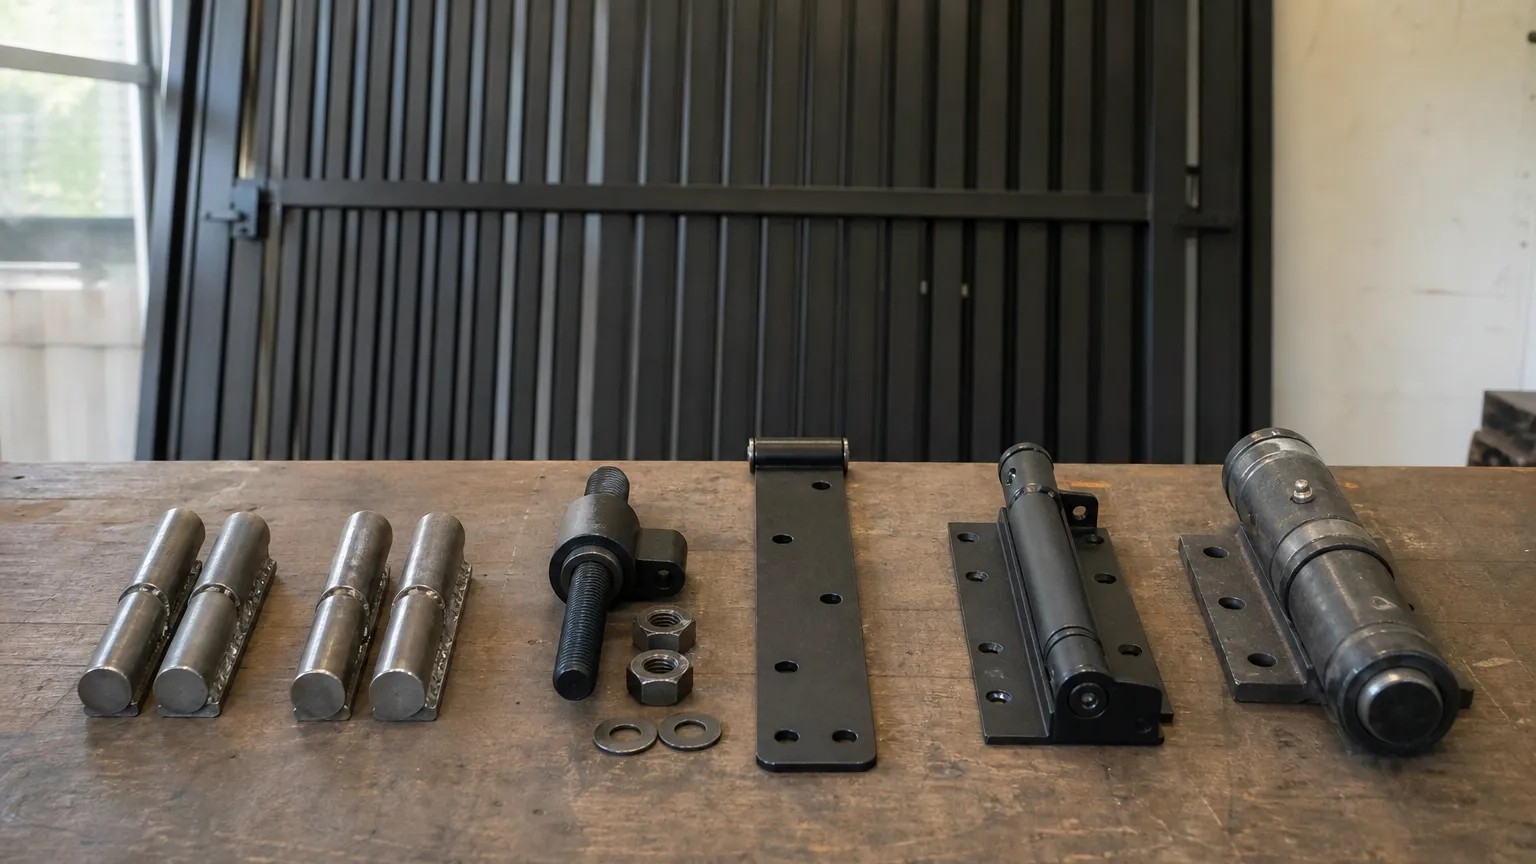
It comes down to adjustment. A weld-on hinge is fixed for life once it is welded. A bolt-on adjustable hinge lets you move the gate in and out, and often up and down, with a spanner.
| Hinge | Good for | Downside |
|---|---|---|
| Weld-on barrel (bullet) hinge | Cheap, strong, neat, and tamper proof | No adjustment. Worn ones get cut off and replaced |
| Weld-on hinge with adjuster | Welds to the post or gate, with a threaded or slotted adjuster | Costs more, bulkier |
| Bolt-on adjustable hinge | No welding on site, adjustable after install | Costs more, needs a post that suits the bolts |
If you are not sure the post will stay put, adjustment is worth paying for. The gate hinge types guide compares the main styles in more detail.
How big a gap do you leave at the hinge side?
The hinge decides the gap, so read its sheet before you cut the gate. It varies a lot. A small weld-on barrel hinge may need only enough room for the barrel. Some weld-on roller hinges, like the D&D BadAss range, list an ideal gate gap of about 64 to 76 mm.
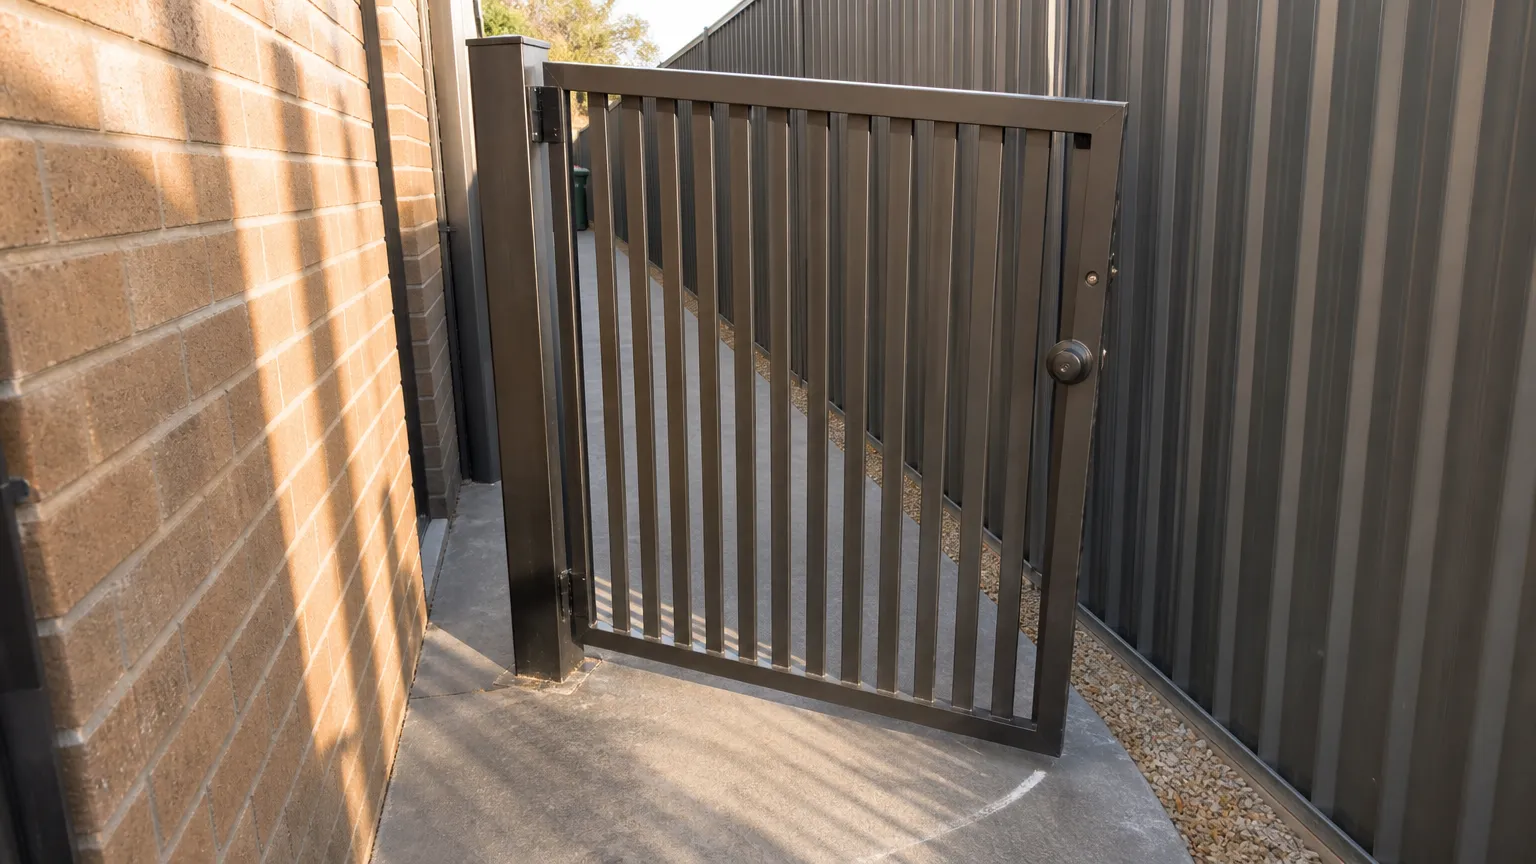
CAD60's pedestrian gate starts at a 15 mm gap on the hinge side, 8 mm on the latch side and 50 mm under the gate. You change any of them to suit your hardware.
Hinge height matters too. Put the top hinge close to the top rail and the bottom hinge close to the bottom rail. The further apart they are, the less load each one carries.
How do you set the gate up before welding the hinges?
Do this against the real post on site, or against a post clamped plumb in the shop.
Check the post is plumb
Put a spirit level on two faces. If the post leans, the gate will swing open or shut on its own.
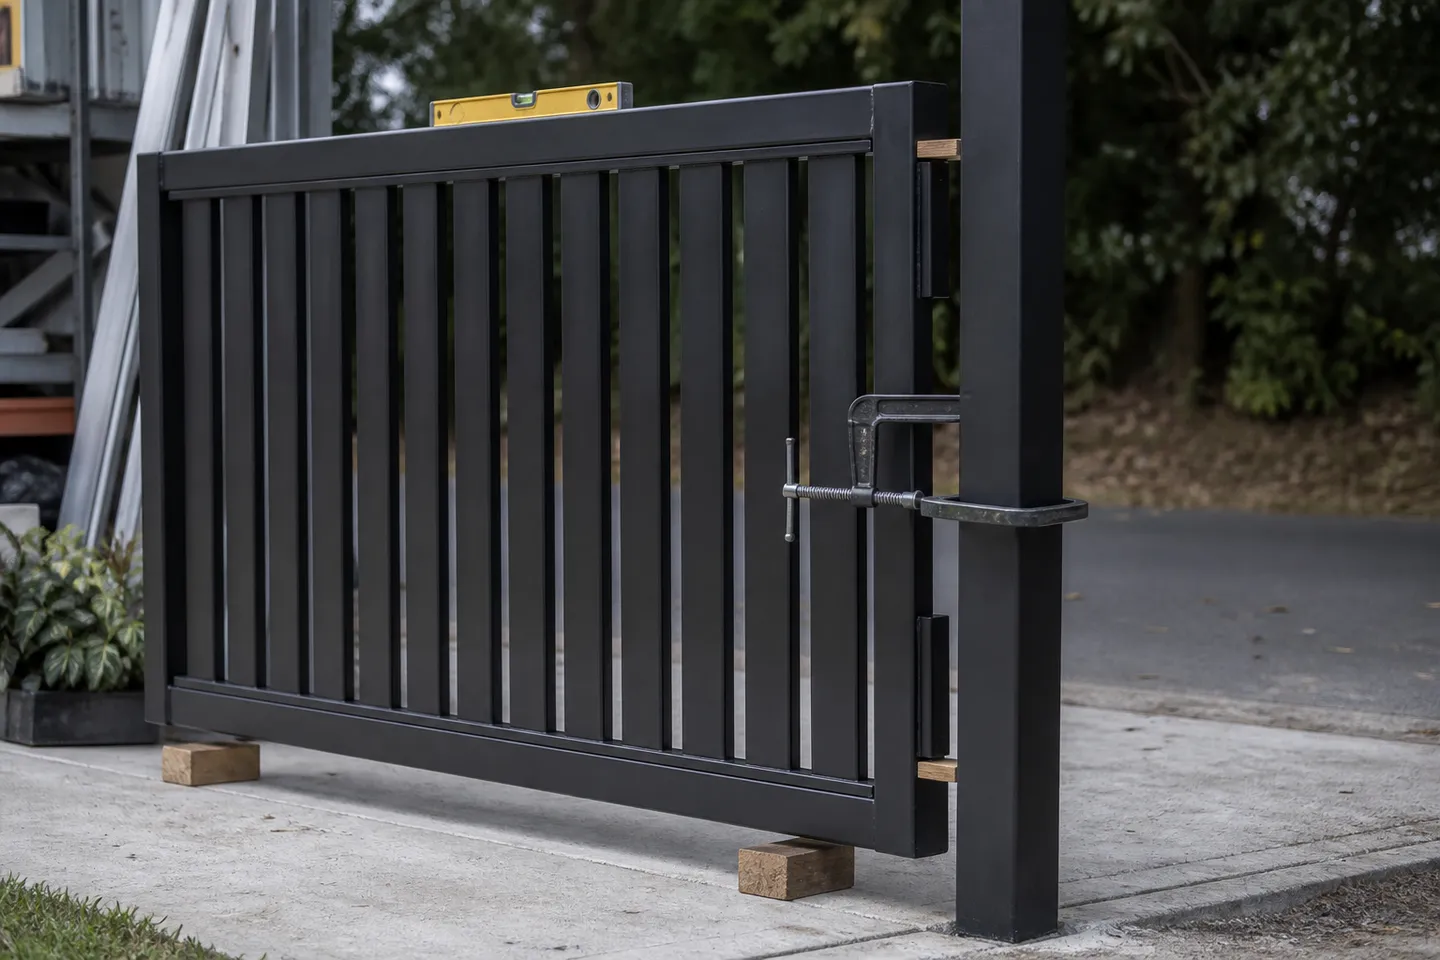
Pack the gate up on blocks
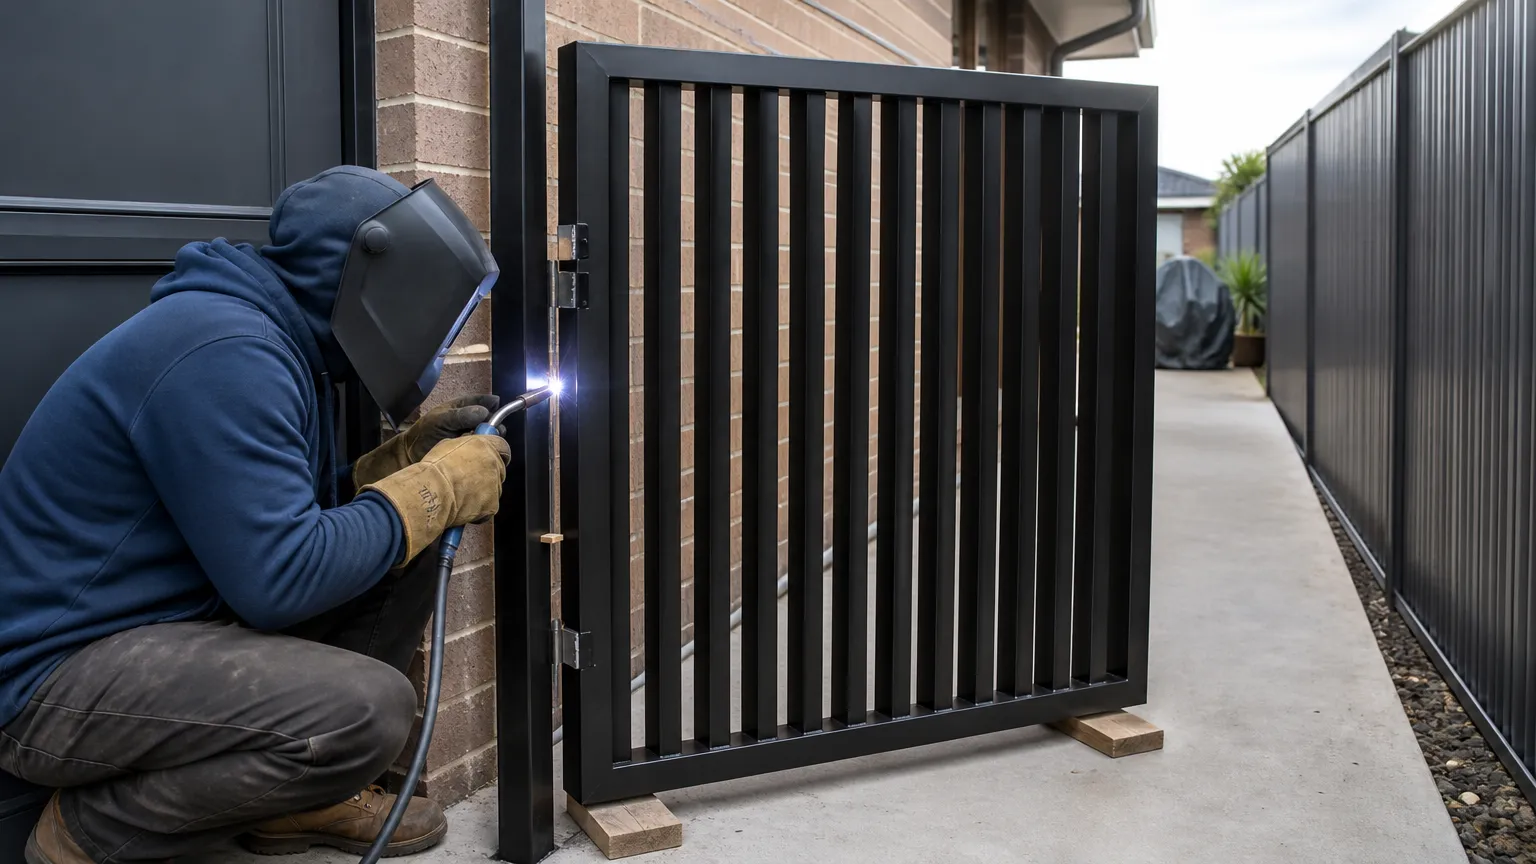
Set the gate on timber blocks or packers at its bottom gap. Check the top rail with a level and pack until it is dead level.
Wedge the hinge gap
Slide spacers between the hinge stile and the post, top and bottom, to set the gap. Wedge the latch side too, so the gate cannot move.
Clamp it
Clamp the gate to the post or to the packers. Nothing should move when you lean on it.
How do you line up two hinge pins on one axis?
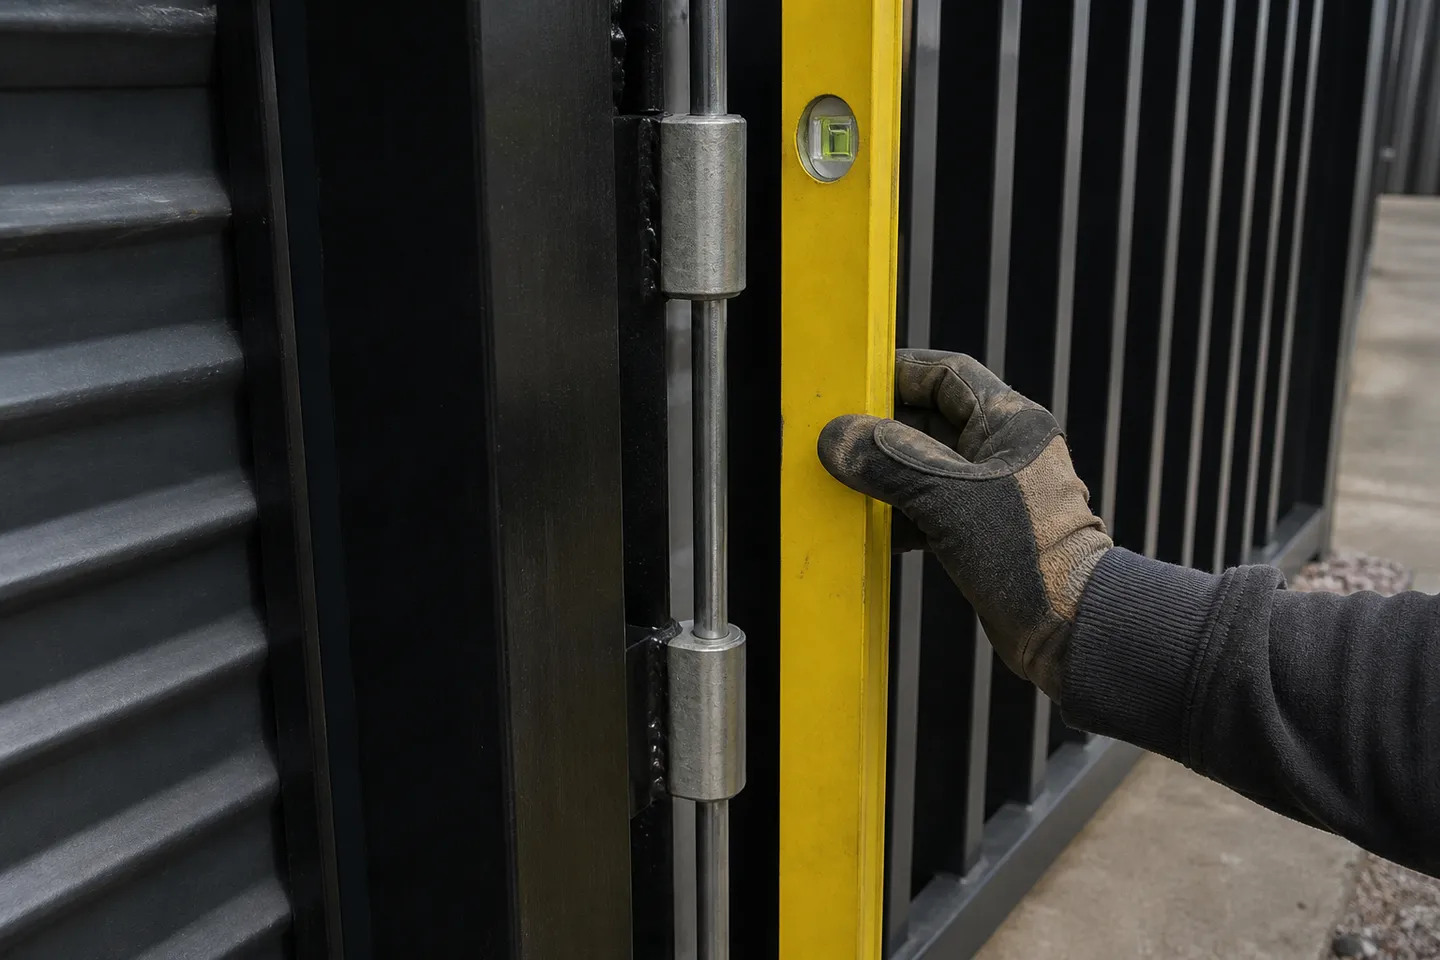
Run one straight rod through both hinge barrels. Use round bar that is a snug fit in the barrel, or the hinge pins themselves if a long one fits. The rod forces both barrels onto one line.
- Slide both hinges onto the rod.
- Hold the rod against the hinge stile and the post at the gap you set.
- Put a level on the rod. Check it plumb on two faces.
- Slide each hinge to its height mark and clamp it.
Why it matters: if the top pin sits forward of the bottom one, the gate is trying to swing on two different lines. It binds, the pins wear oval and the gate starts to drop. That is one of the common causes in how to fix a sagging metal gate.
When do you do the final weld?
Only after the gate has swung on its tacks. The order is:
Tack each hinge
One small tack weld on each side of each hinge leaf, to the post and to the gate.
Pull the rod and the packers
Put the real pins in if you took them out. Pull the wedges and blocks.
Swing the gate
Open and close it fully. It should stay where you leave it at any point, with an even gap at the latch from top to bottom.
Weld out in short runs
Weld a short run on one hinge, then the other, and swap sides. Long runs on one side can pull the hinge off line.
If the swing is wrong at the tack stage, break a tack and fix it. After the final weld, it means cutting a hinge off.
How do you protect the hinge pin from spatter and heat?
Spatter on a pin makes it grind. Too much heat cooks the grease and melts any nylon bush inside the barrel.
- Take the pin and any nylon bushes out before you weld, if the hinge allows it.
- Spray anti-spatter on the pin and barrel ends if they have to stay in.
- Wrap a wet rag around the barrel to soak up heat.
- Weld on the hinge leaf, not on the barrel itself.
- Let it cool between runs, then grease the pin once it is all welded.
What changes when the gate is aluminium?
The big one: you cannot weld a stainless or zinc-plated hinge to an aluminium gate. They will not fuse. Buy hinges with an aluminium weld-on body, or use a bolt-on hinge.
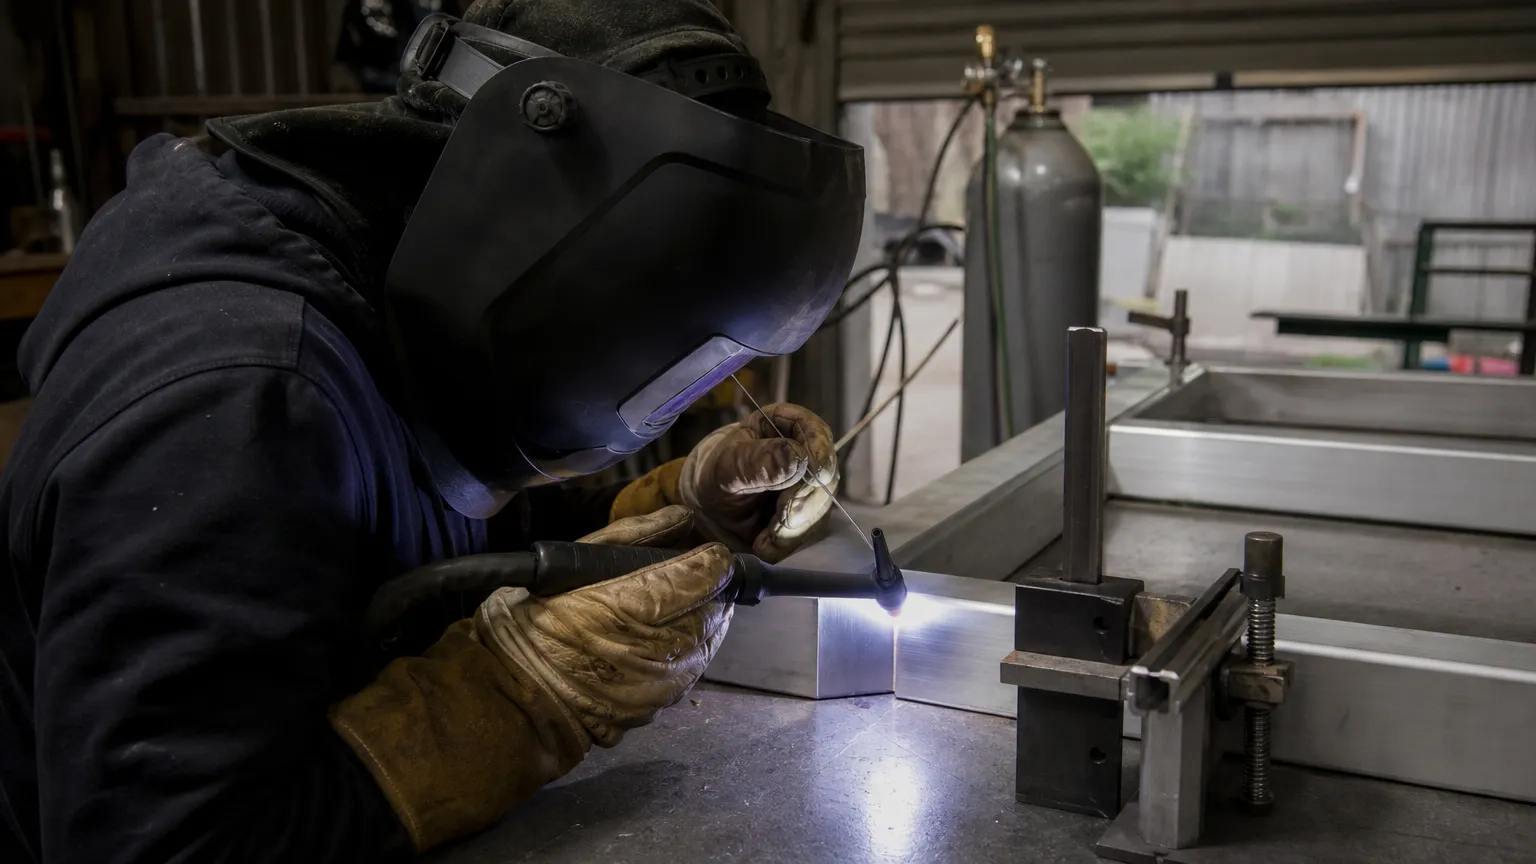
- Clean the hinge leaf and the tube the same way as any aluminium weld: acetone, then a stainless brush kept for aluminium.
- A thick hinge leaf soaks up heat. Point more of the arc at the leaf than at the thin tube wall, or the tube melts before the leaf wets in.
- Do not cook the stile. The metal next to the weld goes soft, and the hinge stile carries the whole gate.
Common questions
How do you line up gate hinges for welding?
Slide both hinges onto one straight rod that fits snugly in the barrels. Hold it plumb against the post at the right gap, clamp the hinges at their heights and tack them.
Do you weld hinges to the gate or the post first?
Tack both sides with the gate packed up in place, so the hinge is set to the gate and post together. Swing it on the tacks, then weld out. Welding one side fully first makes it hard to correct.
Should you take the pin out before welding a hinge?
Yes, if the hinge lets you. Heat and spatter can seize the pin or melt a nylon bush. If it must stay in, use anti-spatter, a wet rag and short runs.
Why does my gate swing open on its own after welding the hinges?
The two hinge pins are not on a plumb line, or the post leans. Check the post with a level. If the post is plumb, one hinge is off line and needs cutting off and re-setting.
Can you weld hinges onto an aluminium gate?
Yes, if the hinge has an aluminium weld-on body. Stainless or zinc-plated hinges will not weld to aluminium. Use a bolt-on hinge for those.
How far from the top and bottom should gate hinges go?
As close to the top and bottom rails as the hinge and frame allow. The further apart the hinges are, the less load each one carries and the less the gate sags.
Written by Harry Tolley
Harry builds CAD60 with his dad, who has run a fabrication business for 20 years. We write these guides from what goes wrong in a real shop.