On this page
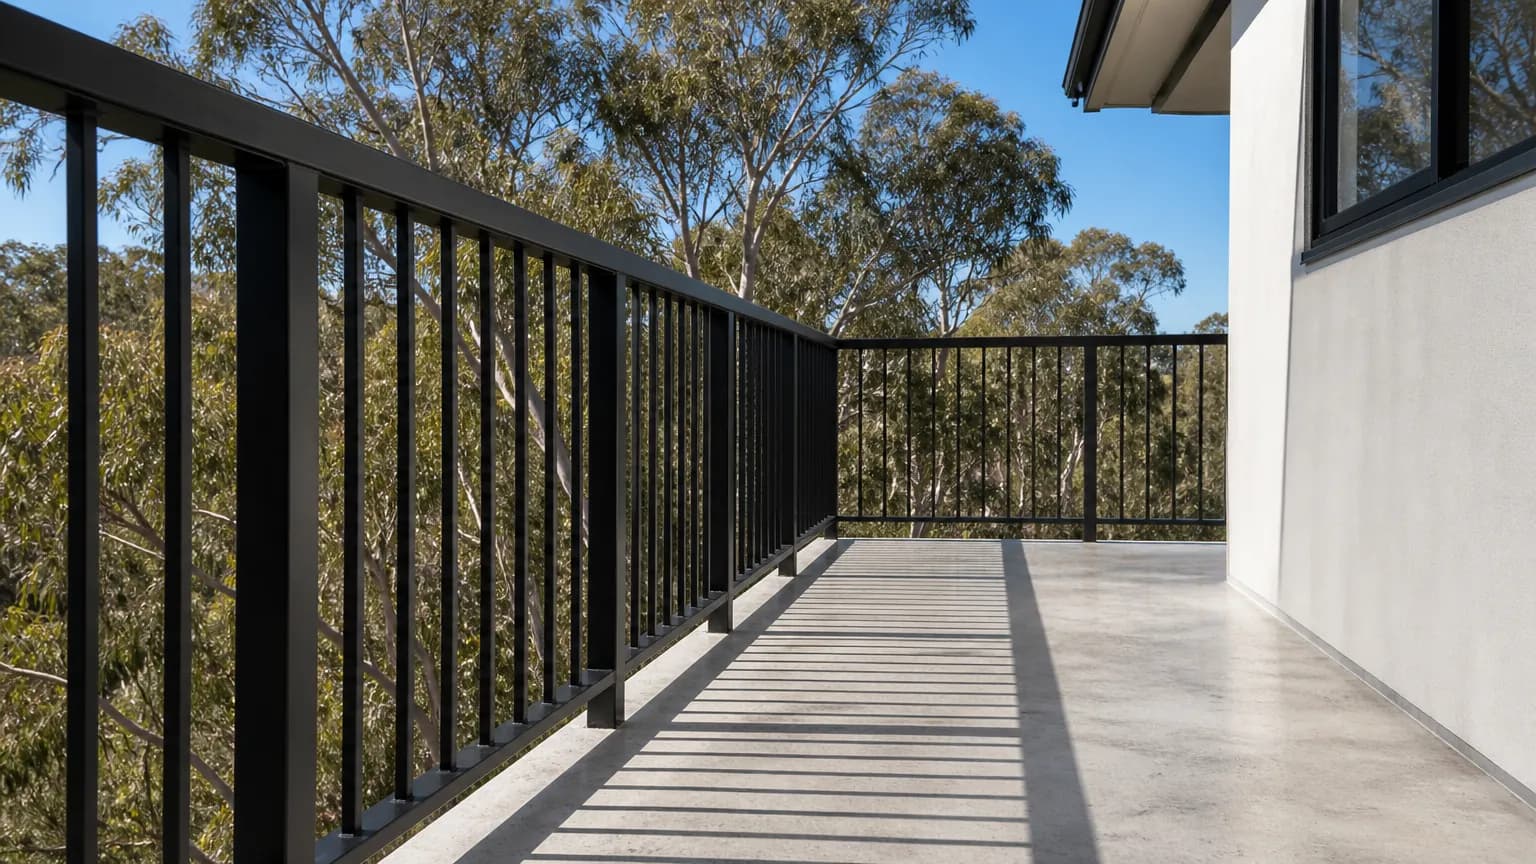
A balustrade looks simple: posts, rails and infill. The drawing is where you answer the hard questions. Where does each post land? How is it fixed? What happens at the corners, and how does the rail meet the wall?
This guide walks through drawing one in the order you would build it. Measure the run, set out the posts, add the rails and infill, detail the fixings, then sort out the corners and stairs. At the end is the list of views the drawing needs.
What you need to know
- Measure every run, corner angle and end condition before you draw a single post.
- Set out posts at equal centres. Divide the run by the largest spacing your system allows and round up.
- Draw a detail for each fixing type: core drilled, base plate or side fixed.
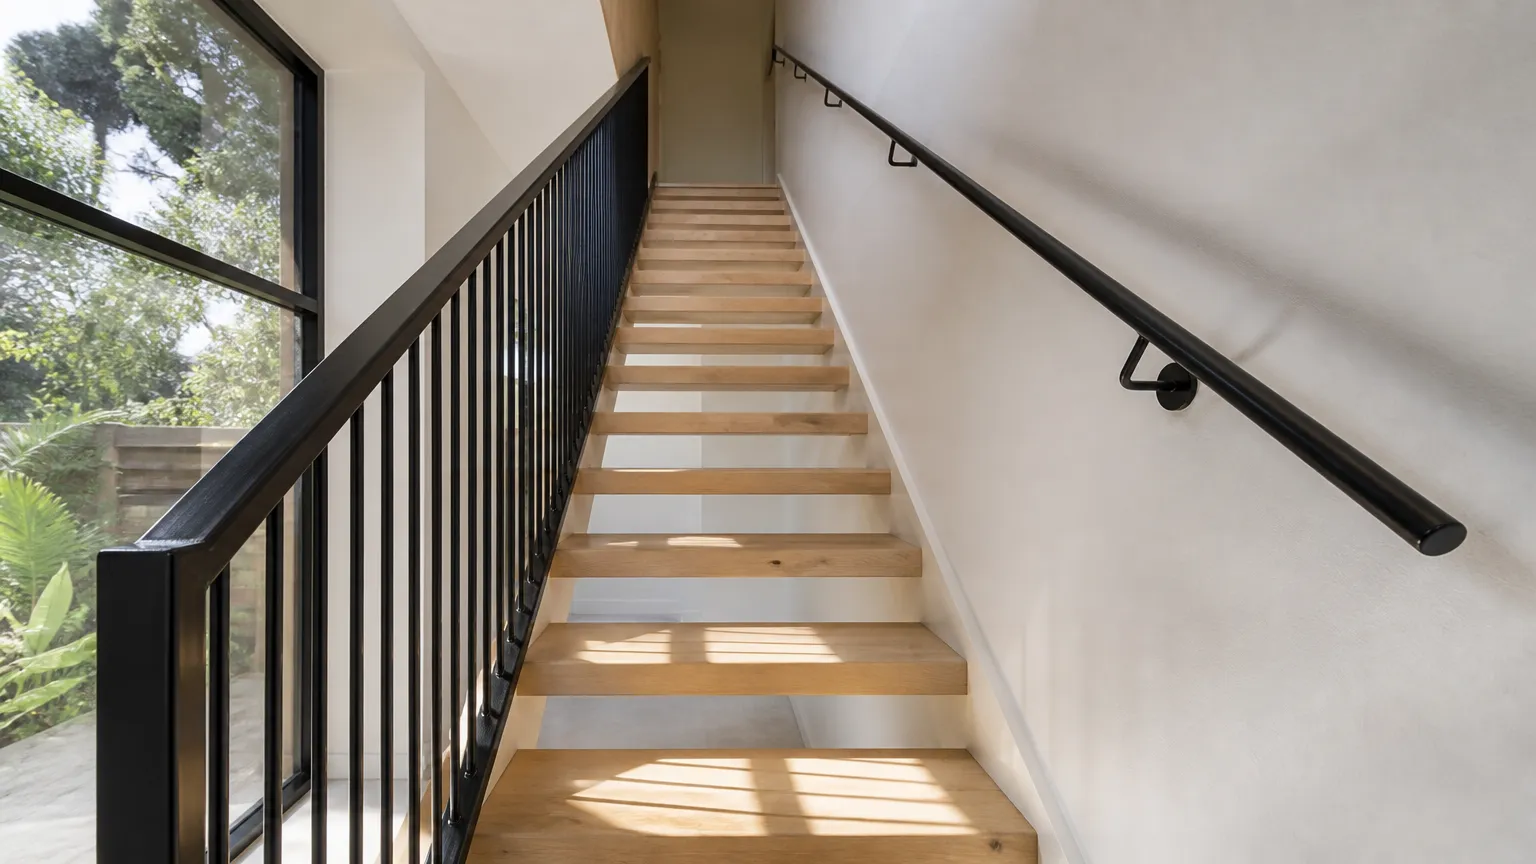
- On stairs, posts and bars stay plumb. Only the rails follow the rake.
- A plan, an elevation of each run, a section through a post and the fixing details cover most jobs.
What do you measure before you draw?
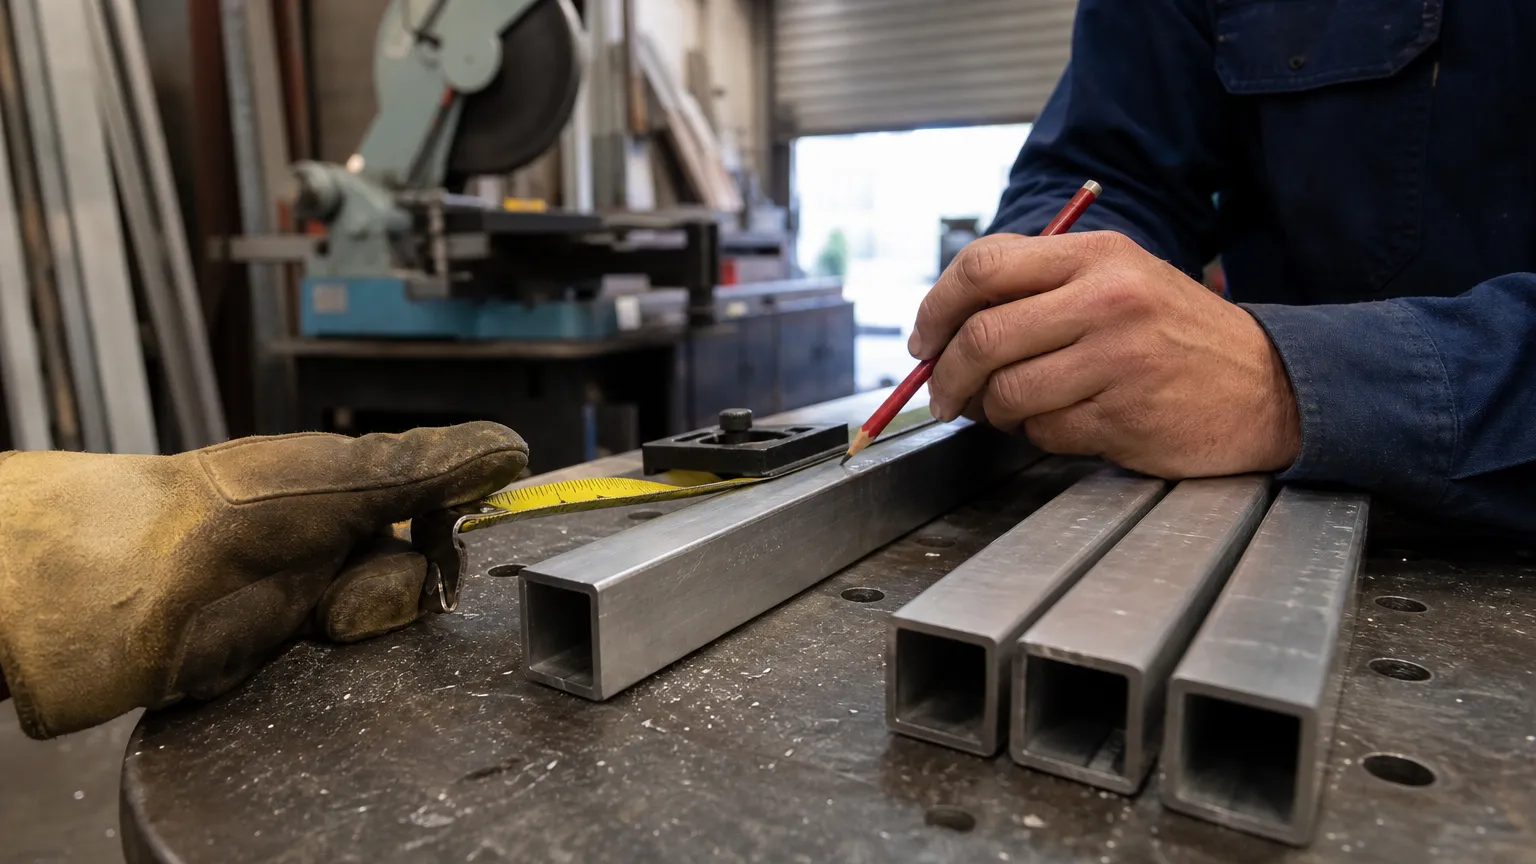
Everything starts on site. Run a string line along the edge and measure to it. Write down:
- The length of each straight run, in mm.
- The angle at every corner. Not every corner is 90 degrees.
- What each end does. Hits a wall, stops free, or meets a post.
- What you are fixing into. Concrete slab, timber deck, steps or a fascia.
- Any fall along the floor, and where the stairs start and stop.
- Things in the way: downpipes, doors, gutters, light switches.
Sketch it in plan on site and write the numbers on the sketch. A photo of each corner and end helps when you are back at the desk. Our guide to measuring up a job uses the same habits.
How do you space the posts?
Posts go at equal centres along each run. Start with the largest spacing your balustrade system or engineer allows. Then share the run out evenly.
Fix the end posts
Put a post at each end and each corner first. Measure the run between those post centres. Say it is 6400 mm.
Divide by your largest spacing
Say your system allows 1500 mm. 6400 ÷ 1500 = 4.27. Always round up, so 5 bays.
Work out the real centres
6400 ÷ 5 = 1280 mm centres. Five bays need six posts, counting the two ends.
Check for clashes
Look at your site notes. If a post lands on a downpipe or a door swing, shift the setout and make one bay shorter. Show that bay clearly on the drawing.
Dimension the setout to post centres, from one fixed point, usually the wall or the first end post. Running dimensions from one point stop small errors adding up along the run.
How do you draw the top rail and infill?
The top rail either sits on top of the posts or runs between them. On top looks cleaner and runs past the posts in one length. Between the posts is easier to fit on an uneven floor. Show which one on the elevation, and say how the rail ends: wall plate, end cap or a return.
A handrail is a different part with a different job. If the balustrade carries one, draw it as its own member with its bracket. The balustrade vs handrail guide explains the difference.
Then the infill. The three common types each need different numbers:
- Vertical bars. Give the bar size and the gap. Bars sit between two posts with a gap at each end, so the maths is a little different to battens on a gate.
- Glass. Give each pane's width and height, the gap between panes and how each pane is held (spigots, a channel or clamps to posts).
- Horizontal slats or wire. Give the profile, the number of runs and the spacing up the post.
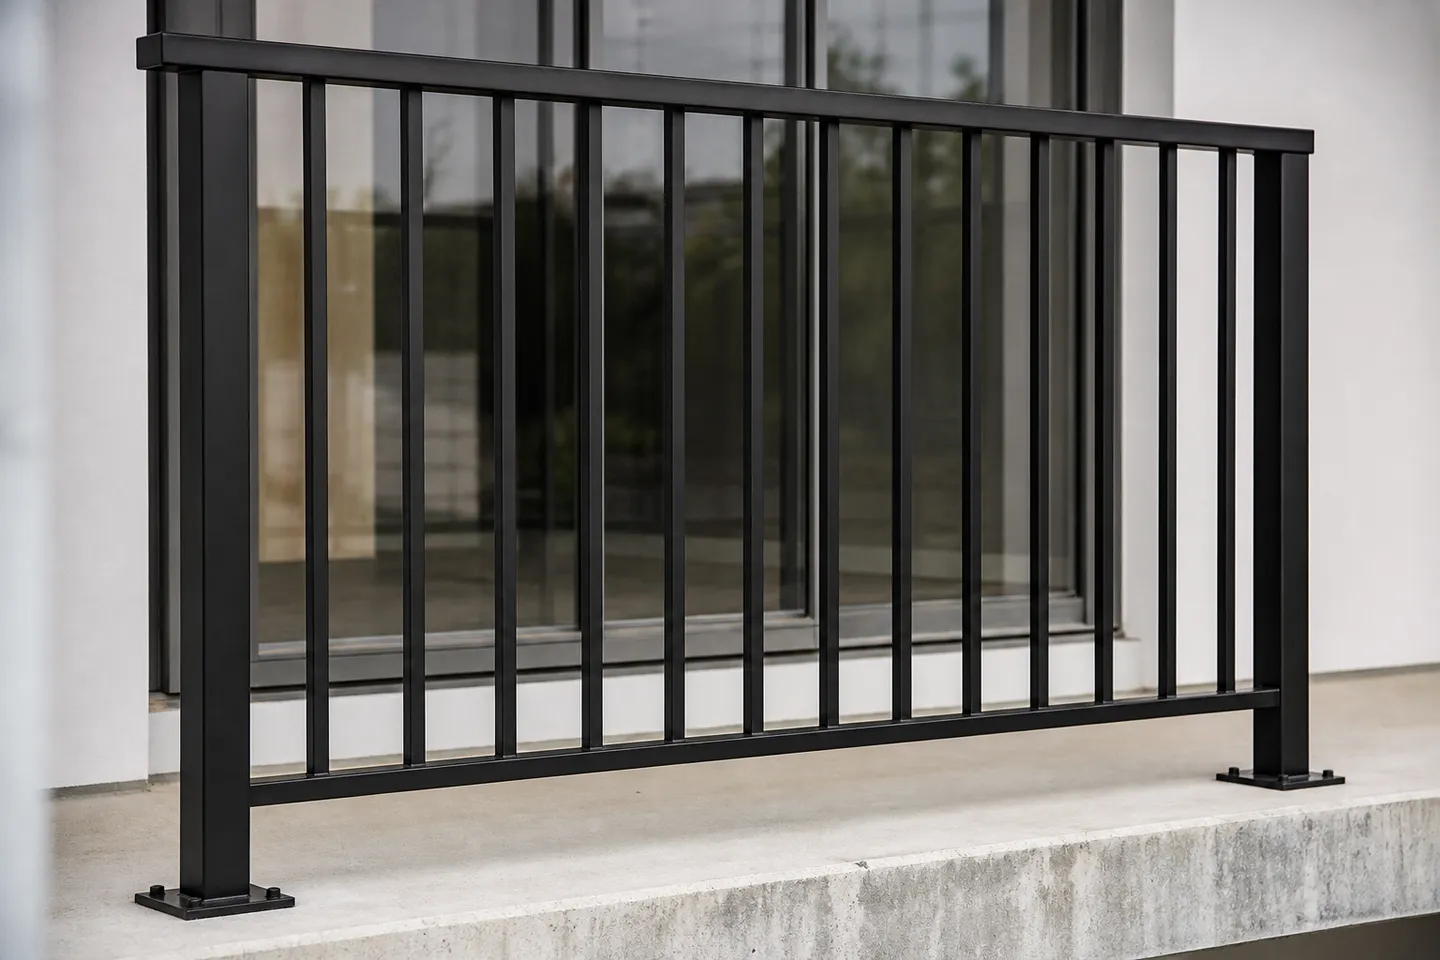
Here is the bar maths for one 1280 mm bay with 50 mm posts. The clear gap between posts is 1280 − 50 = 1230 mm. With 16 mm bars and a target gap of 100 mm: (1230 − 100) ÷ (16 + 100) = 9.7, so round up to 10 bars. That leaves 1230 − (10 × 16) = 1070 mm of space, over 11 gaps = 97.3 mm each.
How do you show the post fixings?
Every fixing type on the job gets its own detail, drawn large. The installer will work from it more than any other part of the drawing.
| Fixing | Where it goes | What to draw |
|---|---|---|
| Core drilled | Into a concrete slab or step | Hole diameter and depth, how far the post goes in, the grout |
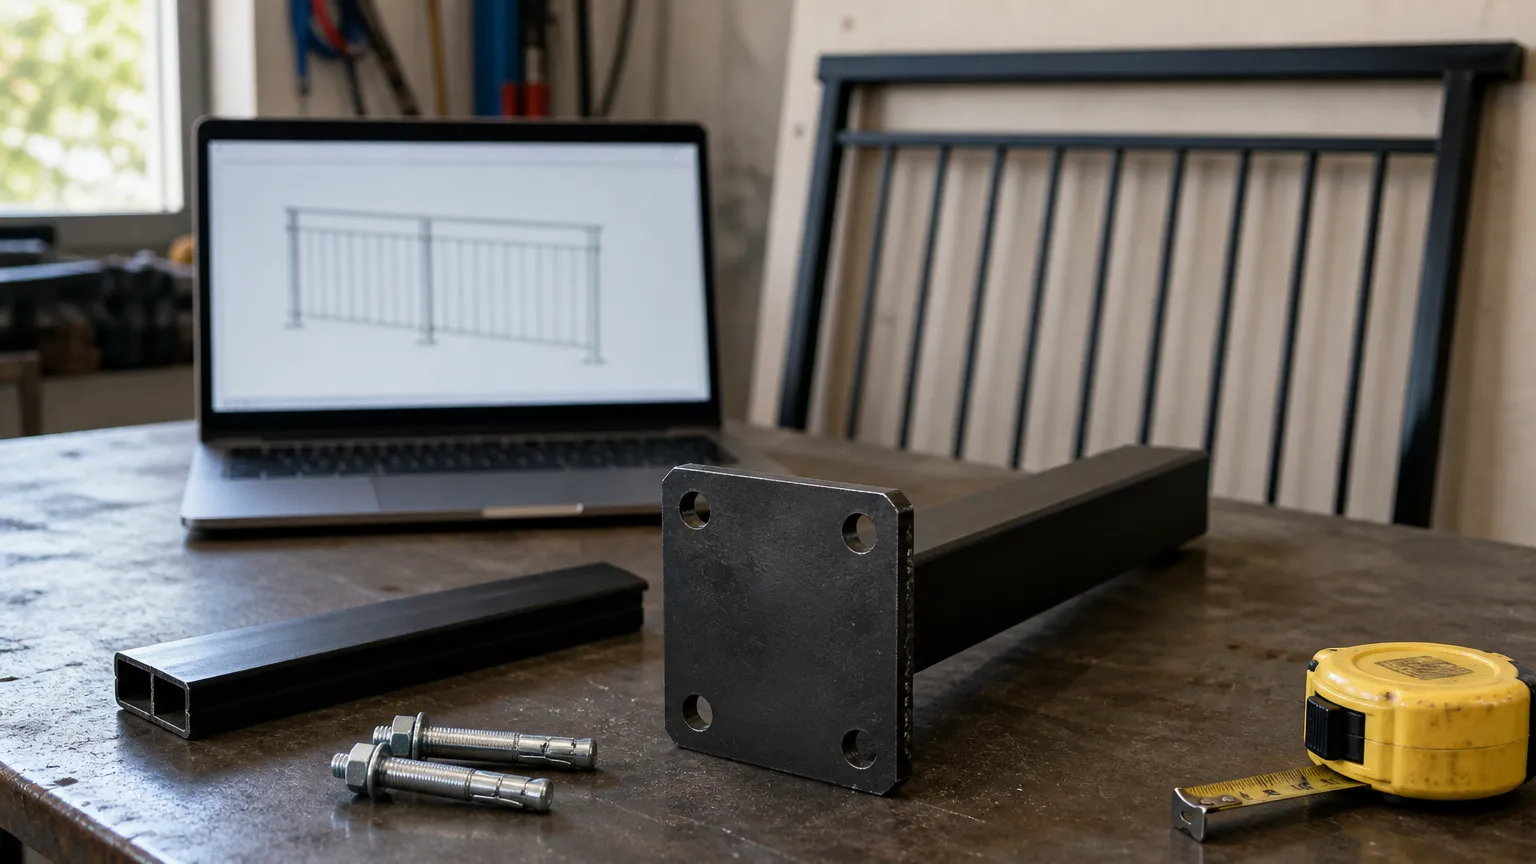
| Base plate | On top of a slab or deck | Plate size and thickness, hole sizes and centres, the anchors |
| Side fixed | On the slab edge or fascia | Plate or bracket size, how far the post drops below the floor, the bolts |
| Spigot | Under glass panes | Spigot positions on each pane, core hole or base plate size |
Name the anchor, not just "bolt". A dynabolt, a chemical anchor or a coach screw into a timber joist are all different jobs on site. If an engineer has specified the fixing, copy their callout word for word.
How do you draw corners and stairs?
Corners. You have two choices. One post right on the corner, or a post each side of it with the rails meeting in between. One post is neater. Two posts suit a corner that is not square or a rail that has to be joined on site. Draw the angle on the plan and say how the top rail joins: a mitre, a corner piece or a welded joint.
Stairs. Work out the rake from the steps. Measure the rise and the going of one step. The rake angle is the angle whose tangent is rise over going. Say each step rises 180 mm and goes 250 mm: 180 ÷ 250 = 0.72, which gives about 35.8 degrees.
- Posts stay plumb. Draw them vertical, not square to the rail.
- The top and bottom rails follow the rake.
- Bars stay plumb too, so every bar is a different length. List them all.
- Show where the raked section meets the level section, and how the rail bends or joins there.
A raked bay is easy to get wrong by hand. Draw the elevation to scale and measure the bar lengths off it, or let software work them out.
Which views does a balustrade drawing need?
Most jobs need these:
- A plan view. The whole balustrade from above: every run, corner, post and end, with the setout dimensions.
- An elevation of each run. Post centres, rails, the infill and any raked bays.
- A section through a post. The post, the rails and the fixing, cut through.
- Fixing details. One for each fixing type, drawn large.
- A cut list. Every post, rail and bar, with lengths and quantities. Our cut list guide shows how to write one.
- Notes. Material, finish and colour, and the fixing callouts.
For the parts every drawing shares, like the title block and scale, see how to draw a fabrication drawing.
CAD60 also draws a stair balustrade on a rake and a glass balustrade run on spigots, a channel or standoffs. It only draws the models in its catalogue, so a one-off design still needs CAD or a pencil.
Common questions
What scale should a balustrade drawing be?
A plan and elevations at 1:20 or 1:50 suit most runs on an A3 sheet. Fixing details are drawn bigger, at 1:5 or 1:2, so the installer can read every bolt.
Do you dimension balustrade posts to centres or to faces?
Centres for the setout, because that is how they are marked out on site. Add a face dimension where a post sits close to a wall or an edge.
How do you work out how many balusters you need?
Take the clear gap between posts, less one gap, and divide by one bar plus one gap. Round up. Then share the leftover space across the bars plus one gaps to get the real gap.
What is the difference between core drilled and base plate posts?
A core drilled post sits in a hole drilled into the concrete and is grouted in, so there is no plate to see. A base plate post has a plate on its foot that bolts to the top of the floor.
Are stair balustrade posts plumb or square to the rail?
Plumb, in nearly every case. The rails follow the rake of the stairs and the posts and bars stay vertical, which is why each bar ends up a different length.
Can I draw a balustrade without CAD?
Yes. A scale rule, graph paper and a clear setout will do a simple run. Raked bays and corners take longer by hand, and every change means drawing it again.
Written by Harry Tolley
Harry builds CAD60 with his dad, who has run a fabrication business for 20 years. We write these guides from what goes wrong in a real shop.